
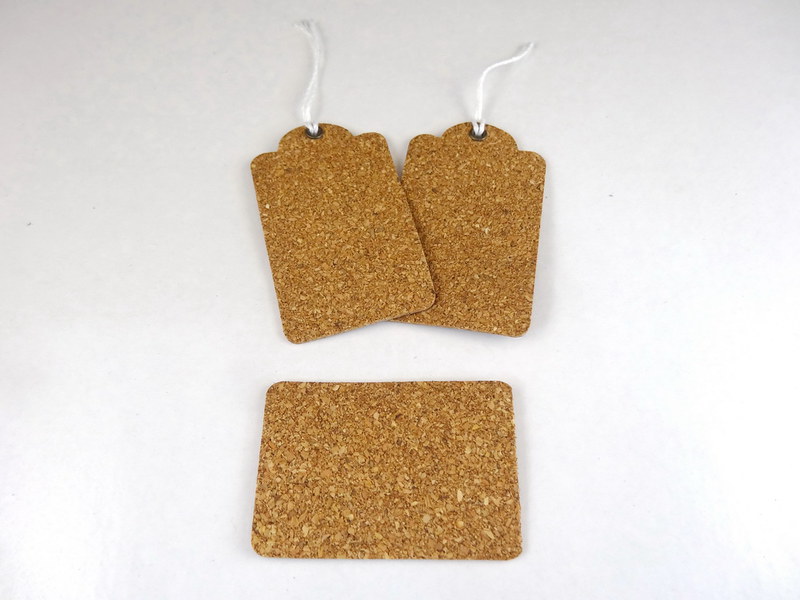
First cut the part of the tag that's sticking out. Try to get the edge as straight as possible.

Use a sharpie/permanent marker to draw a design. I used a fine tipped marker for the details and a slightly larger one for the thicker parts. It's a bit tacky at first, but is fine after the ink dries completely. I'd still recommend not leaving the inked parts in contact with Sylvanian figures or plastic for an extended period of time to avoid staining. I just left the underside of my mat untouched so I can leave it safely on my cottage's doorstep.
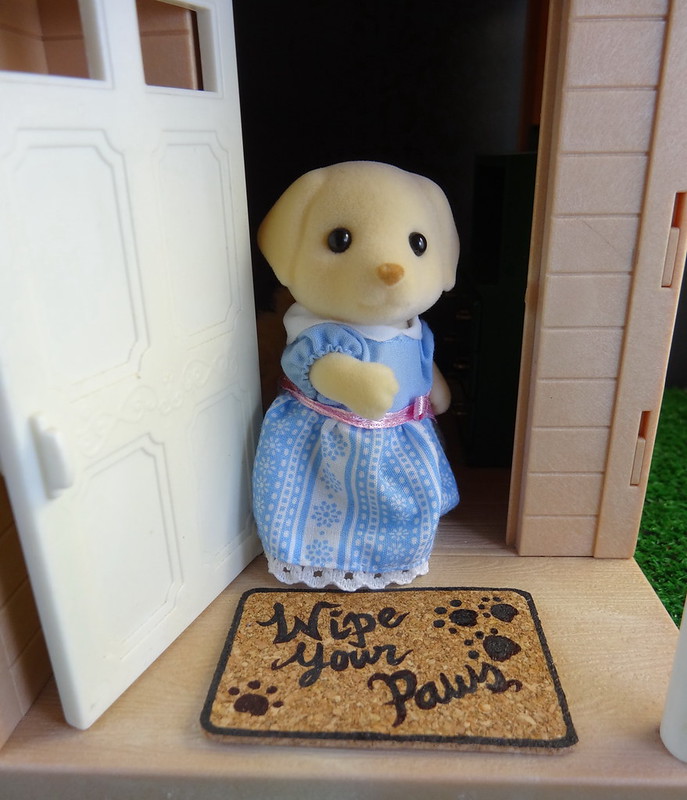
Be sure not to track mud into Mrs Fenton's house!
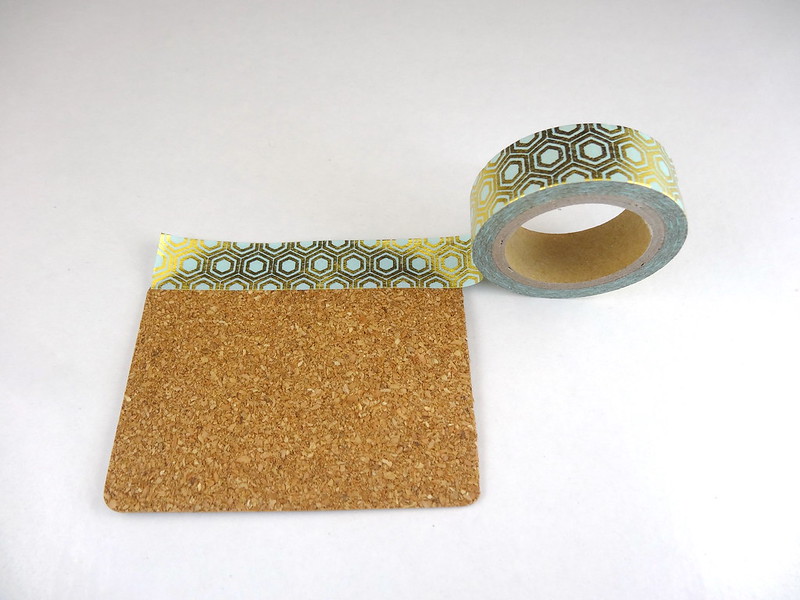
The larger tags are a good size for a pin board. Like with the doormat, snip the edge of the tag off. For the first pin board, I used some decorative tape to line the edges.
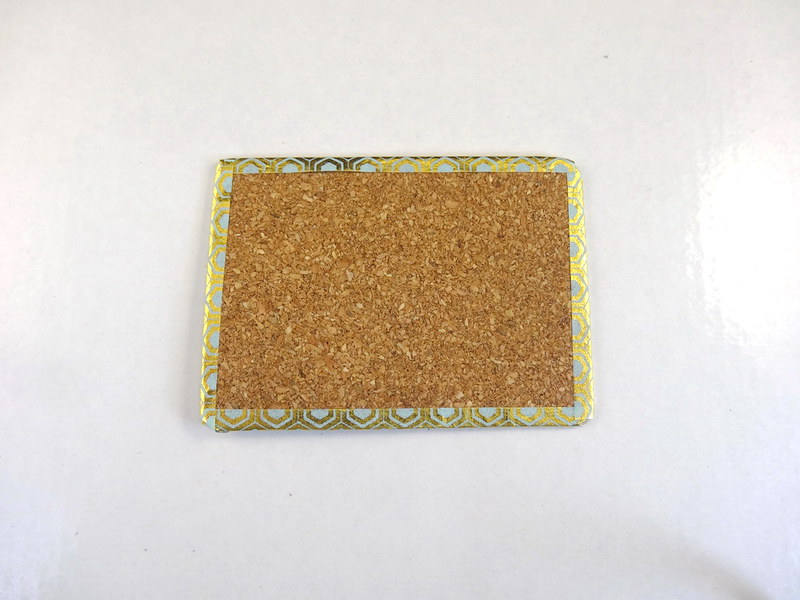
Tada! A sweet finished board.
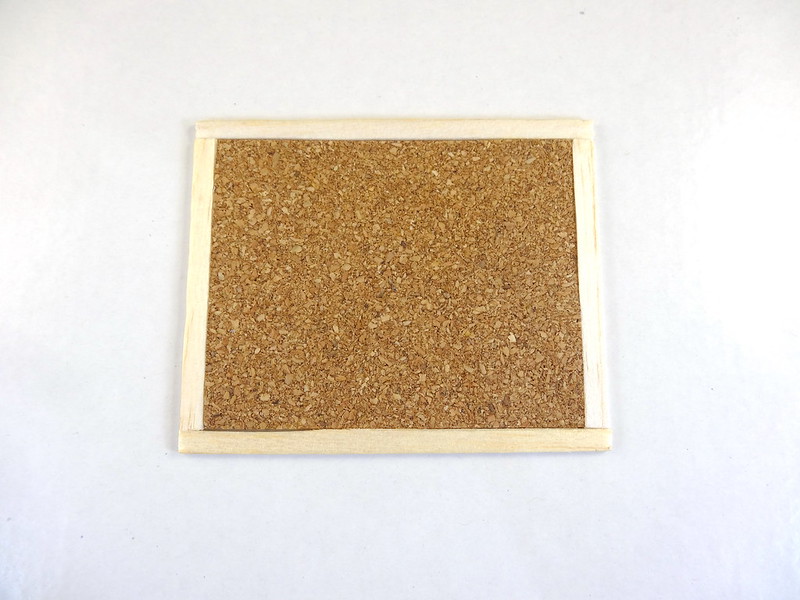
The second board requires a little more effort. Measure and cut some strips of balsa wood, and glue them to the sides of the cork tag with super glue. I prefer the look of this board, personally.
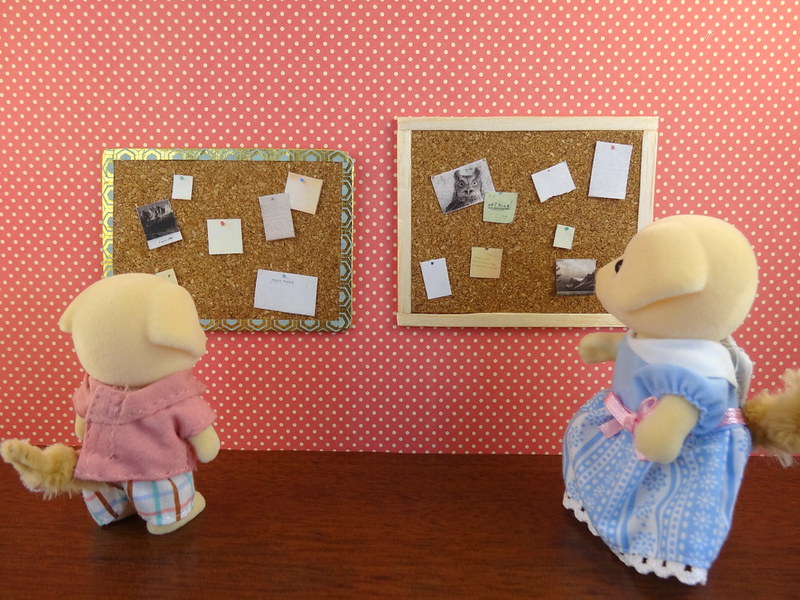
Stick some bits of paper and pictures to the board, and you have your very own Sylvanian notice boards!