
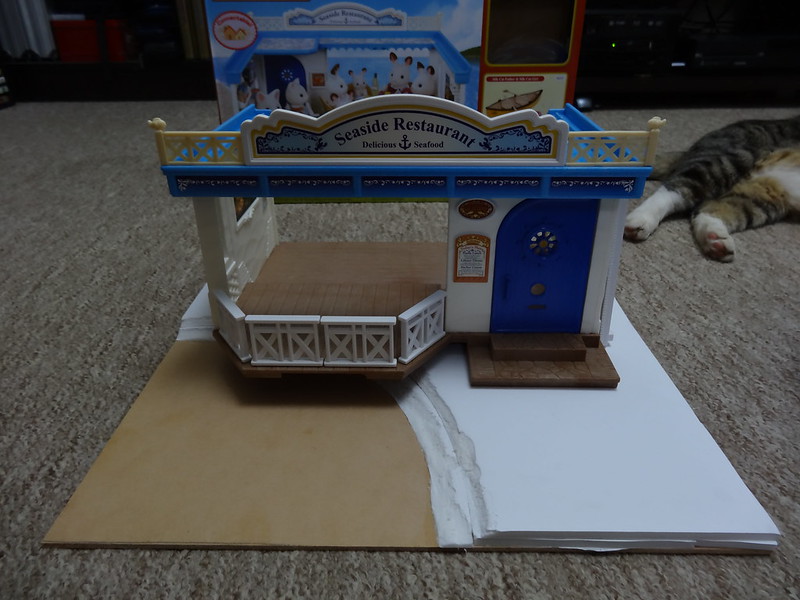
I think I should have used just one layer of foam board instead of two.
Nicked some sand from the beach next to my work and mixed it up with some watered down Aquadhere (brand of wood glue). The sand dried rock hard--I was impressed. I thought it would be a little crumbly, but it's not. Wouldn't do to get it wet though; Aquadhere is water based.
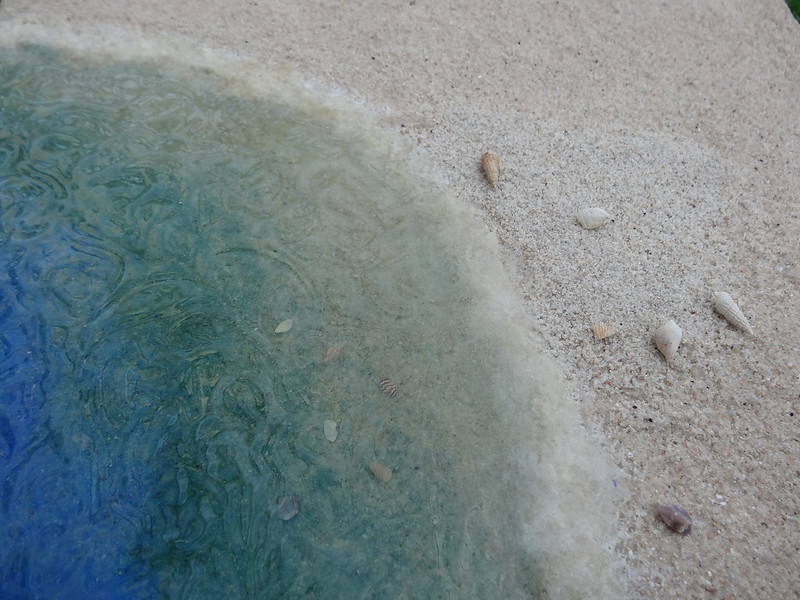
Also painted the 'sea' bit with acrylics. I tried to mix a turquoise colour, but it came out more green than I wanted. Oh well. This sea is full of algae or something.
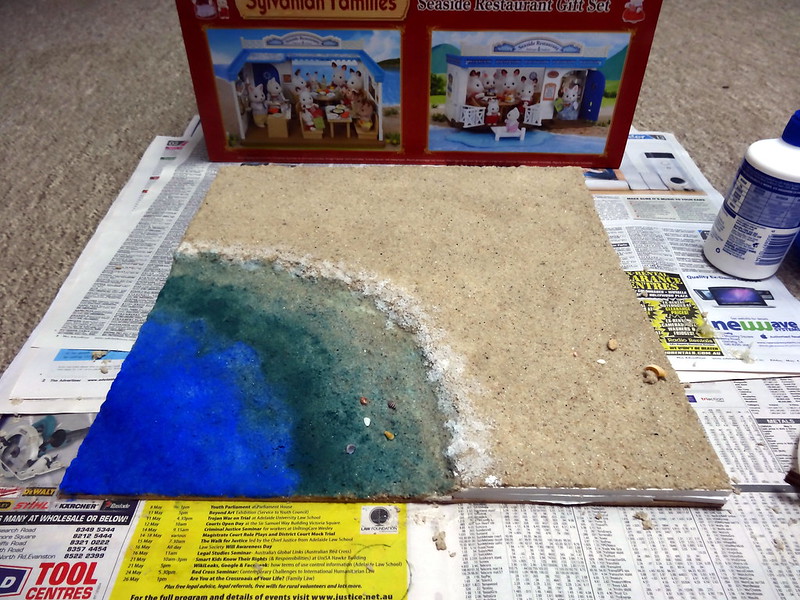
Glued some plastic on the sides and poured resin to make the sea. I've been using Glass Coat as my go-to resin of choice for years, but I learned that Bunnings doesn't carry it anymore. I ran out of Glass Coat half way so I had to go find another resin. Bunnings had Feast Watson, which works just as well.
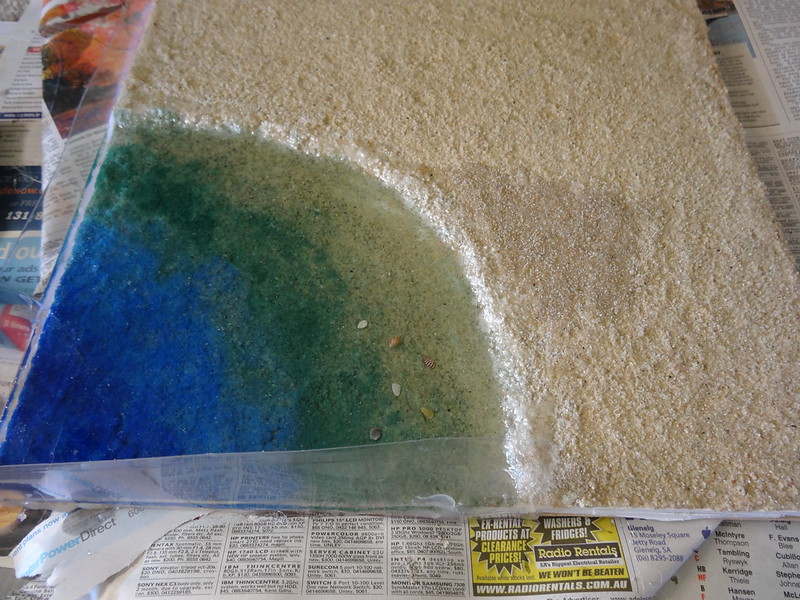
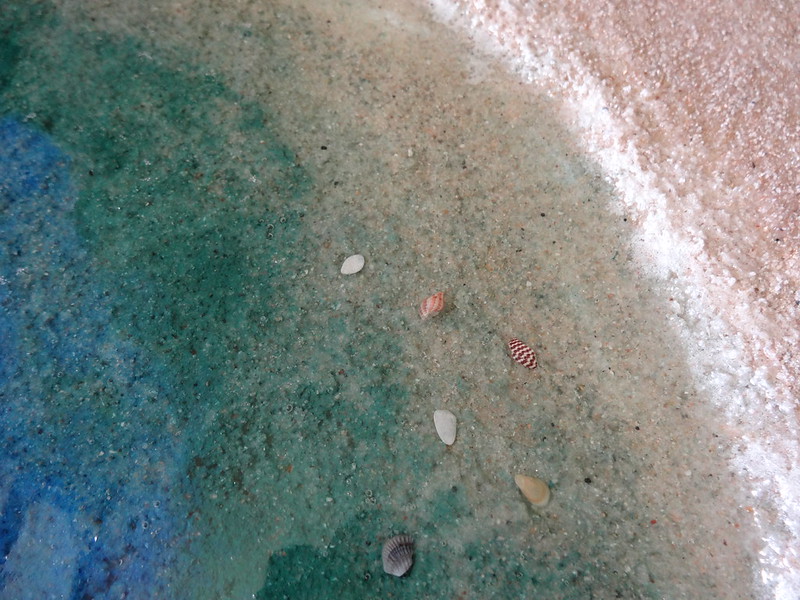
I also put some little shells from the beach in the water. I love that little red striped conical one. Unfortunately there was some air trapped in it and it floated to the surface overnight while the resin hardened. I had to do a second pour or resin to stop it from looking like it was bobbing on the surface. The sea was too shallow anyway. My plastic sides weren't watertight so part of the resin leaked out overnight. I had a lot of trouble getting that area to seal well enough to hold all the resin. :/ I used more resin than I wanted, and that stuff is not cheap.
Ashmimi used a 5 minute curing epoxy for the ripples. The only one I could find that I didn't have to order online for was Araldite, and that stuff is expensive for the tiny tube it comes in. I experimented with shaping the resin as it was curing, but only managed to get a slightly lumpy effect. I tried Mod Podge after seeing some other miniaturists use it, but I guess I can't spread it right. It keeps getting heaps of tiny bubbles in it which leaves many pockmarks on my 'water' surface. I ended up just peeling it off (one good thing about Mod Podge is that it's easily removable from resin) spreading Aquadhere all over it. Aquadhere doesn't hold its shape as well as Mod Podge IMHO, but it'll do.
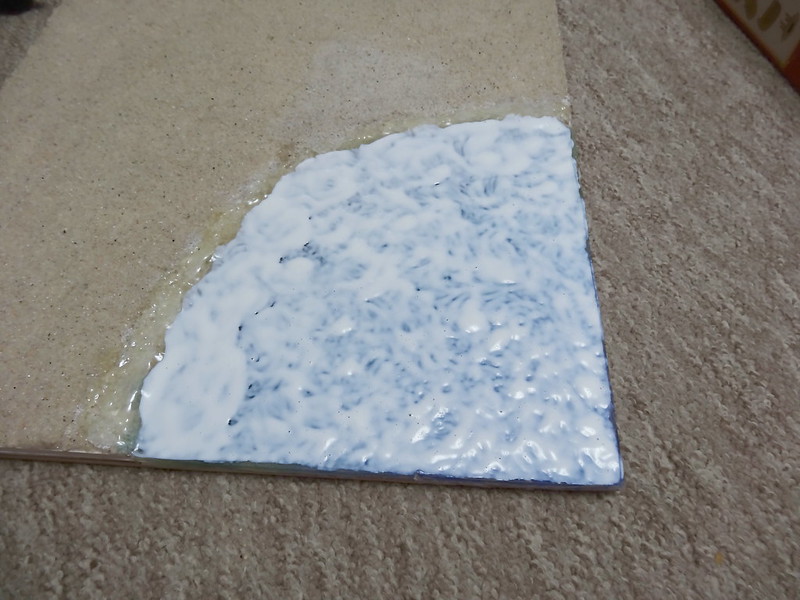
Here's the end result. The waves are certainly not natural, haha. I'll have to redo it again someday, but I'll leave it like it is for now.
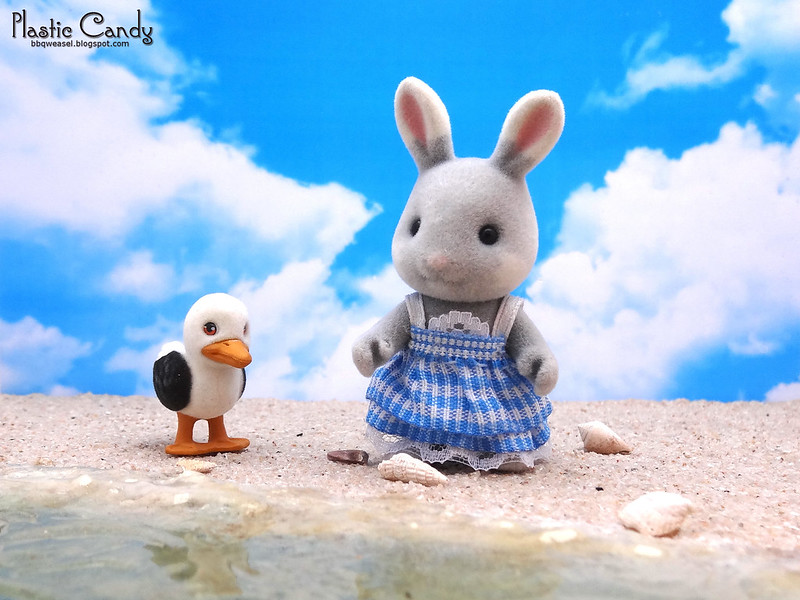
Here it is in a photoshoot! I also made the dress, but I'll talk about it in another post.

Just love it. amazing. I'm dying to try something similar. I looked at Woodland Scenics realistic water, but will check out the ones you used too. Thanks for sharing.
ReplyDeleteHello Pei,
ReplyDeleteIt looks fantastic. The beach is very realistic and well made.
Big hug
Giac
This turned out so cute! Very inspiring to me - your tutorial makes it seem very accessible (I love that you include details about your experimentation and creative solutions.) And your photo shoot is seriously adorable.
ReplyDeleteGreat job! You might just have moved me to consider doing my own beach scene over in this way.
ReplyDeleteWaaaahhh... Even got the ripples right. ��
ReplyDeleteWow! It looks fantastic!
ReplyDeleteYou did a great job! It looks like a real beach.
ReplyDeleteSuch a BEAUTIFUL dress and cute gull. :)
ReplyDeleteI think it's a great idea to make a beach for your restaurant set and it turned out awesome. :) Love the tiny seashells, too.
Excellent seaside! Awesome job Pei, I love it :)
ReplyDelete