Back from the long hiatus! Now that it's school holidays here in SA, I have more time and energy for crafts and blogging. :) I still haven't been getting many teaching jobs, but things picked up a little at the end of term. All I can do now is continue volunteering at different schools everyday to keep myself visible and be ready to jump on any opportunities I see. I hope next term will be better. I really want to land a contract to teach for more than one day at a time. I'm also thinking of taking up a casual cleaning job on the weekend to bring in more money.
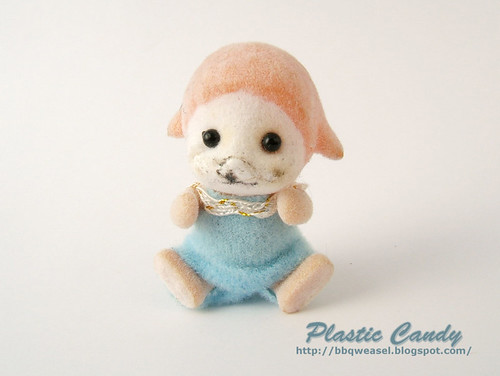
Anyway, on to the projects! I've been planning to open up an Etsy shop selling little critters like these guys:
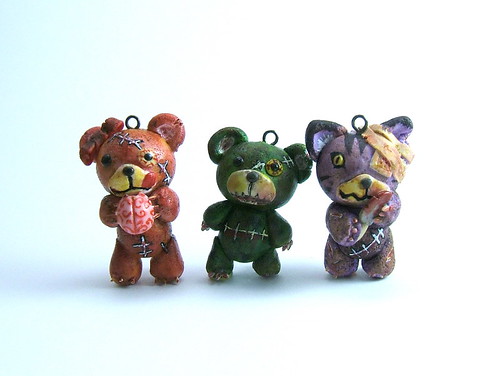
They are about 4 cm tall and were originally meant to be phone charms, but after asking at the Regretsy forums, turning them into necklaces seem to be the more popular choice. I'm working on five more now since the three in the picture are all spoken for and I'm still waiting for my necklace making supplies to arrive.

I've reworked the brain design, the brain the little pink bear is holding didn't turn out quite the way I had imagined it. I was trying to go for a cute stylised brain, but oh, well... I'm still experimenting with ways to make the claws more durable, but I don't think the whole 'coat little wires with liquid clay' thing is going to work out. It breaks off and wire claws are pointy. I'm probably not going to end up listing the puppy for sale because he's the one I used to experiment metal claws on. All the others will have straight up polymer clay claws. I'm also making these ones to be able to stand up on their own, unlike the first three--I had to use blu tak for them.
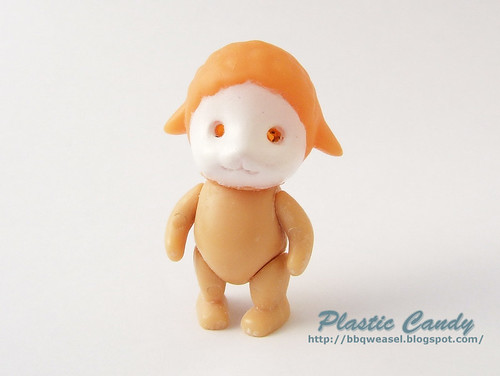
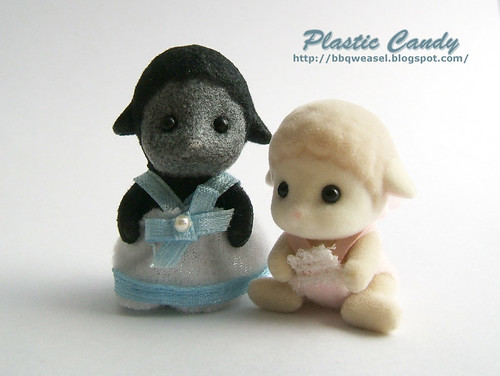
I've also been experimenting with flocking powder. I was sold some vintage Sylvanian chairs and told that they were in 'excellent' condition. They were NOT. Flocking was rubbing off in places and it looked old to boot, so I decided to buy some red flocking and try reflocking the chairs myself.
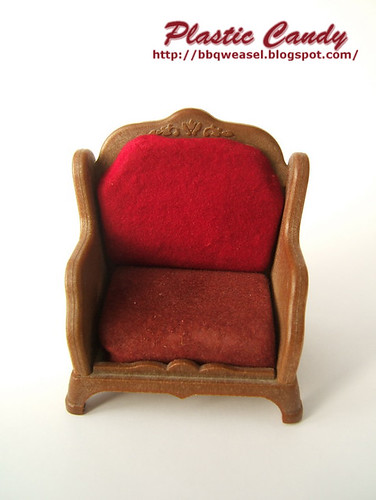
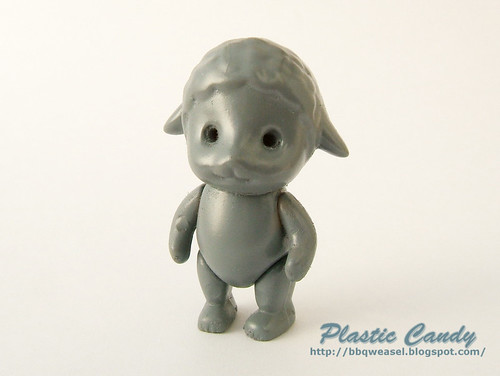
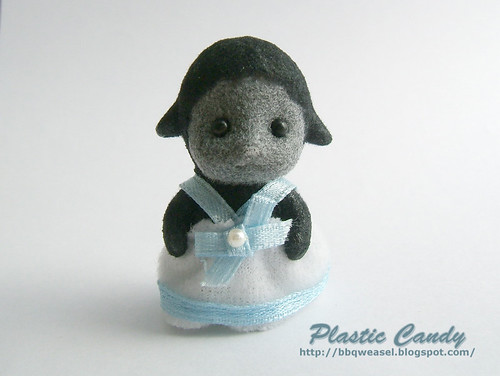
The top cushion is the one I reflocked, and the bottom cushion is still in the condition it came in. I'm pretty pleased with the results and I'll take a photo once I've finished reflocking everything. (Again, one of those things I keep meaning to do but I keep getting sidetracked) I'm also going to try reflocking a little fake sheep figurine I have; just waiting for the supplies to arrive.
An update on the Willow Hall I was painting:

Yeah, nothing but some of the floor done. I've hit a stone wall with this project. Put together, the white highlighted areas are too plain and I haven't been able to figure out what other colours would go well with the darkish green and the white. I've tried reddish brown and dark green, but it doesn't look very good to me on this building. The green colour of the main body is supposed to be lighter, but the paint darkened after drying. I had some highlights planned for a lighter green body colour but they don't really work with the current colour. I think I will try some light green highlights and maybe a few darker green ones.
My main project right now is repainting this baby right here:
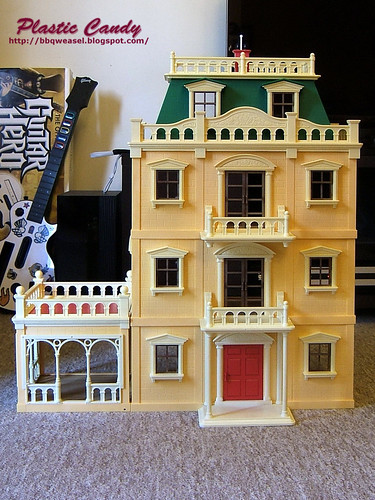
I found this awesome vintage Sylvanian Families Grand Mansion at a dollshouse store near Adelaide. I was floored at finding this building there; I see them pop up all the time on Ebay UK, but never in Australia. It's a building I never thought I'd ever own because of what it would cost to ship from overseas. I was so excited I'm sure I overpaid for this thing, especially in this condition.
As you can see, the white parts are significantly yellowed and there are a lot of parts missing. Most of the major parts are there, it's mostly the small fiddly bits that are gone like the lamps, foot scraper, flower boxes, clothesline, part of the conservatory railing, the canopy, etc. The only missing parts I really want are the front door lamps, the missing railing and the little sticking out bit on the conservatory where you can hang a flower pot from. Mostly the lamps. I saw some of these parts on Ebay a couple of months back but I was too stingy to fork out for the more expensive shipping method the seller was using. I kinda regret that now because I haven't seen any of these parts turn up lately!
Another awesome thing about this building is that all the floors are just stacked one on top of the other, and are removable. Makes it easier to paint and to take photos in.
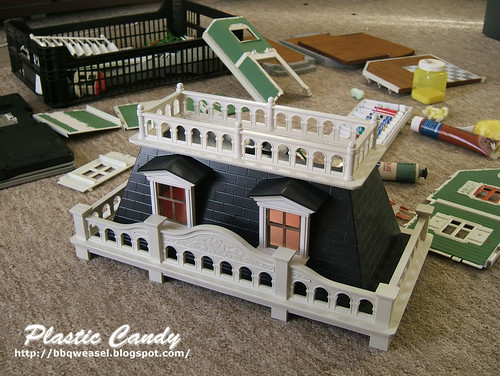
I started out by repainting the roof.

In this picture the windows haven't been painted yet. They look so yellow next to all the newly painted white parts! I like the details on the front of this building, looks so cool.
With windows done:
I keep forgetting to paint the chimney. I also need to build a new trapdoor for the roof, both the trapdoor and the ladder leading up to it are missing. Ladders I don't mind so much, but one cannot have a large gaping hole in the roof!
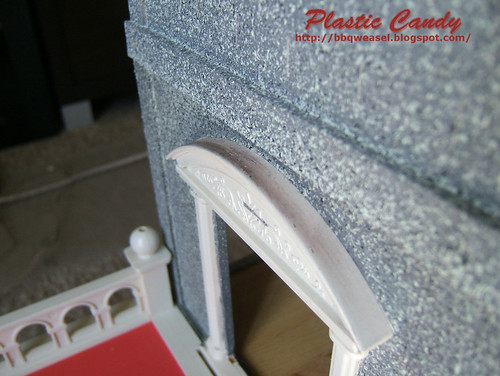
WIP spraying photo!
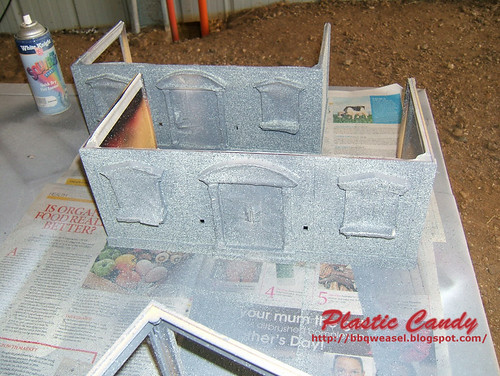
I used a stone effect texture spray for the main body and a gray primer as the undercoat. I think I should have used a white because the colours came out a lot darker than I wanted. Oh well, too late now.
And I've been careless because this happened:
The masking tape and the areas I tapped off are pretty similar in colour so I missed a few spots... :p
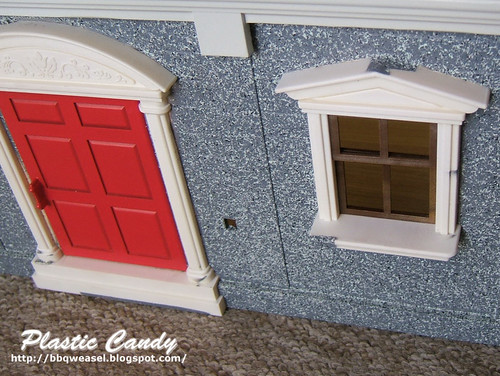
Here's how it looks like with all the masking tape taken off:
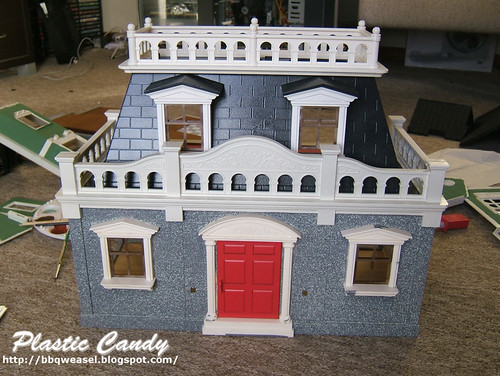
The red door is very striking, but it's not going to be permanent because I don't like it. I'm thinking of painting it black with some golden highlights instead.
Texture paint is very messy and sometimes it clumps up and makes big blobs. That's probably the result of my crappy spraying skills though. It also tends to obscure some of the finer details. It also goes everywhere when you remove the masking. I might just try using normal sprays or acrylics next time I need a stone effect.
That's it for now, I'm hoping to finish the Grand Mansion before the holidays are over!