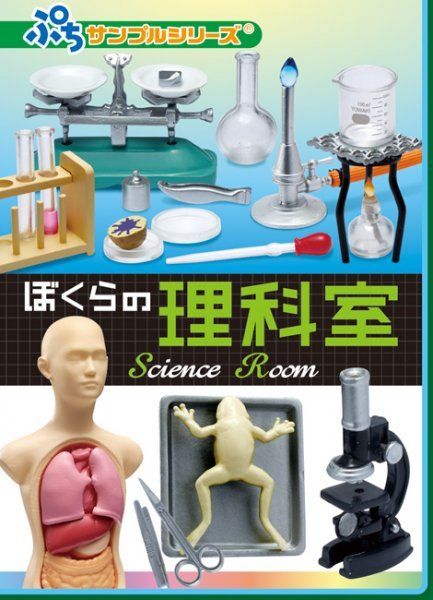
There are 10 sets in this release. All the sets have names in English as well, and I'm going to use what's written on the packaging. Any Engrish is not my fault :P
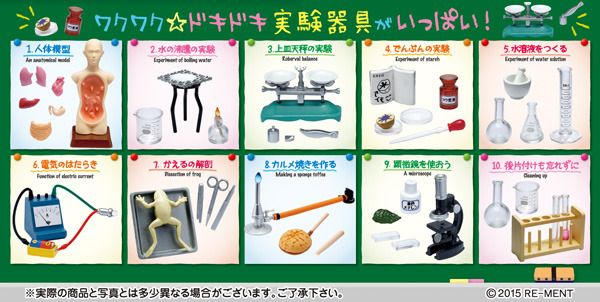
Set 1: An Anatomical Model
I think size wise, it fits SF quite well. All the organs in the model are removable and the figure comes apart from the pedestal as well. Only thing is, it doesn't quite fit in the SF world of anthropomorphic animals.
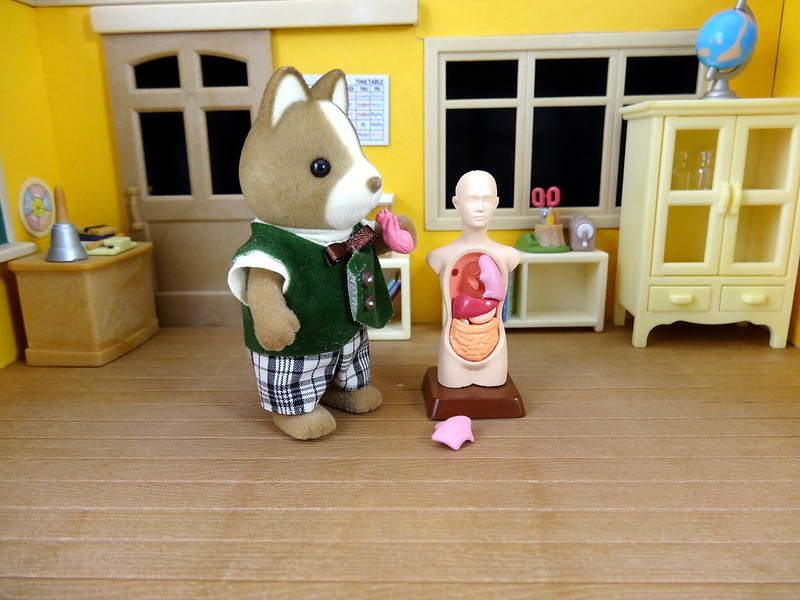
Mr. Huckleberry: How does human anatomy work again? I could have sworn the human heart was located next to the spleen.
Well, Mr. Huckleberry never claimed to be a science teacher...
Set 2: Experiement of Boiling Water
The second set consists of a beaker, wire mesh, a bunsen burner and a stand. The beaker and the bunsen burner fit quite well with SF, but the stand is way too tall.
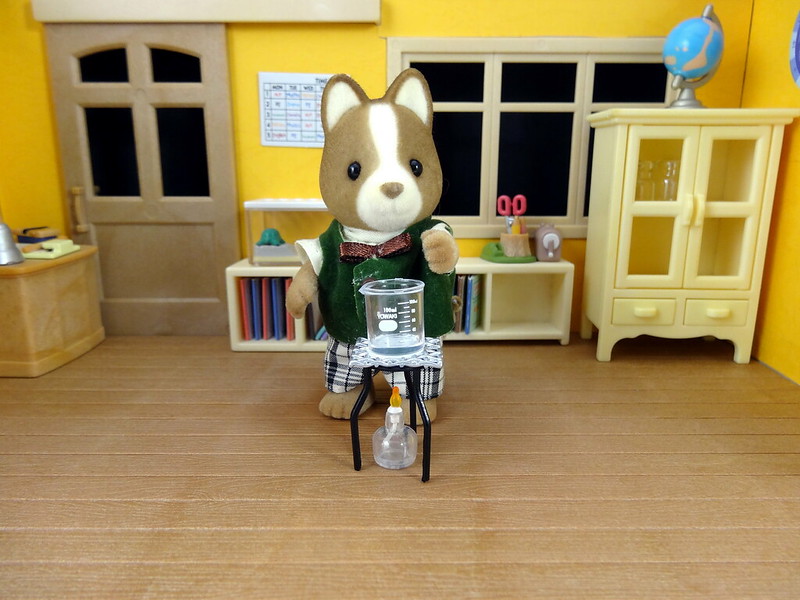
Mr. Huckleberry: I forgot to add the water. Look, the bottom of the beaker's turning black.
Set 3: Roberval Balance
I find the scales frustrating. Re-Ment's quality has gone down in recent years, and it really shows in this set. My scale is twisted and uneven and made of a very lightweight plastic that feels like it could break easily. I think it looks a little large for SF, but it could act as a big scale. Comes with some weights, plates and a pair of tweezers.
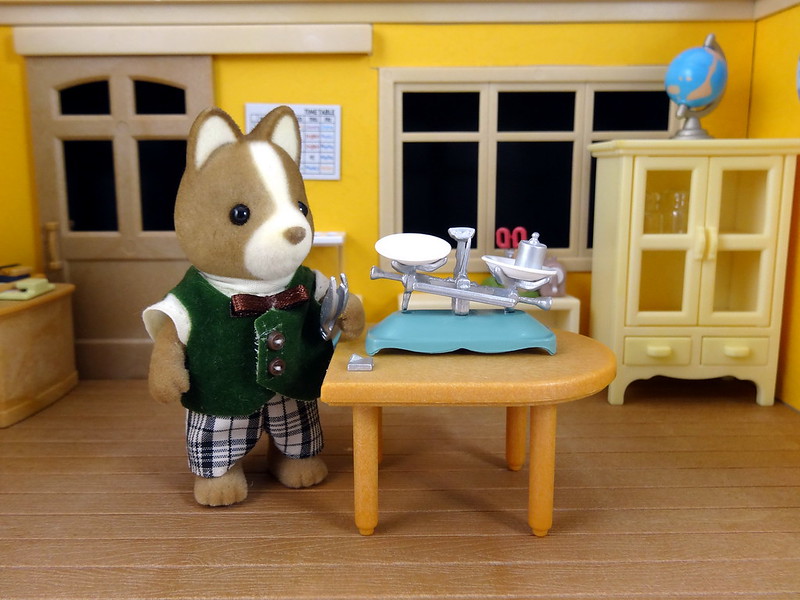
Mr. Huckleberry: It's stamped 'Made in R'lyeh' on the bottom. No wonder the scales don't conform to Eluclidean geometry. Oh, hey, it's starting to ooze something black.
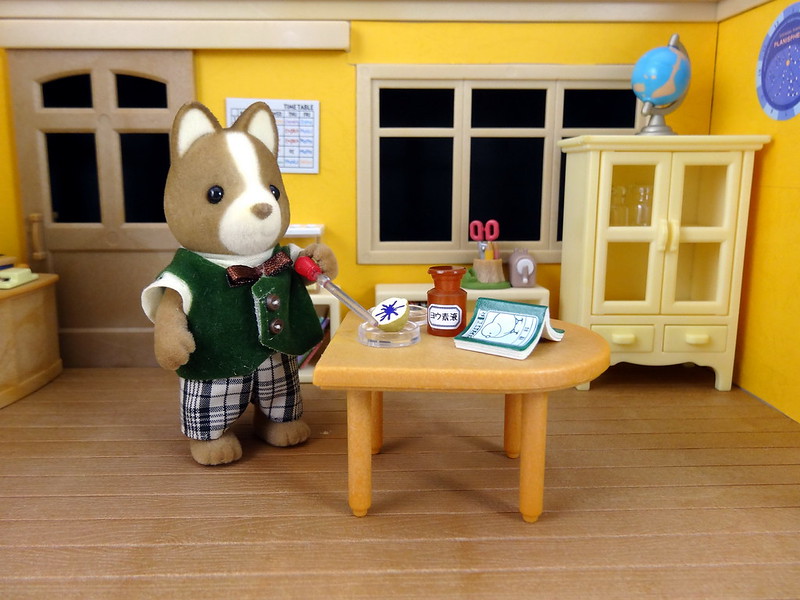
Set 4: Experiment of Starch
Ah, this set brings back memories of secondary school. The set has two petri dishes, half a potato, a water dropper, a bottle of iodine and a book. I placed the book face down because it looks nicer, but the inside has the potato experiment scribbled down on the pages. I'd say that everything in this set scales nicely with SF, except for the dropper. Unless you're using it as one of those huge droppers you see in sciencey stock photos, haha.
Set 5: Experiment of Water Solution
This set has all the laboratory 'glassware' goodies! A round bottomed flask, a conical flask, a measuring cylinder and a mortar and pestle. I'm a little disappointed by the quality of the glassware though. Re-Ment used to make nicer glass things. The seams are very visible and my round bottomed flask came to me partially cloudy.
Only the measuring cylinder seems too big, everything else looks great.
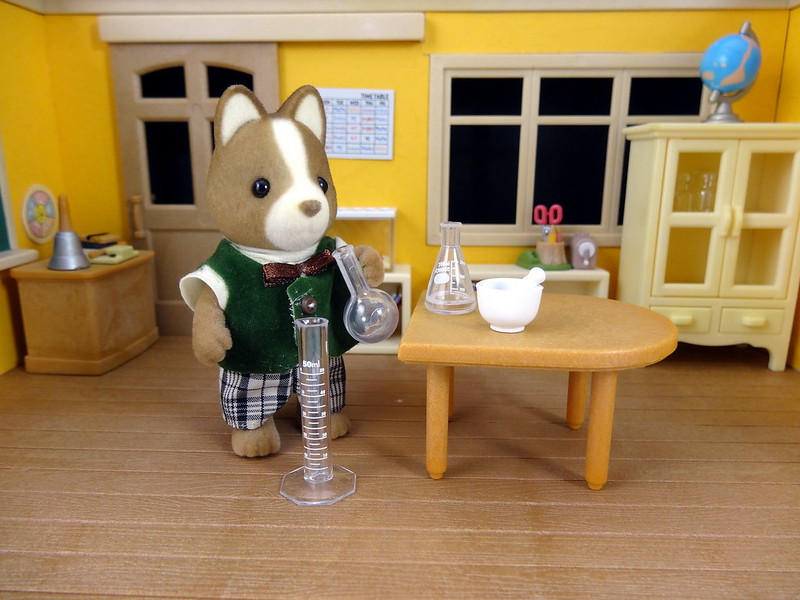
Mr. Huckleberry: A Scientist's Starter Kit. Mad or otherwise is up to the user.
Set 6: Function of Electric Current
The battery and light bulb experiment was the first school physics experiment I did. I was in grade 1, so technically, my dad did it and I watched. Set comes with wires, a battery and a voltage meter. The wires are detachable. The battery is not a separate piece (I have a feeling in 'old' Re-Ment it would have been), but it's not something that really bothers me in this set.
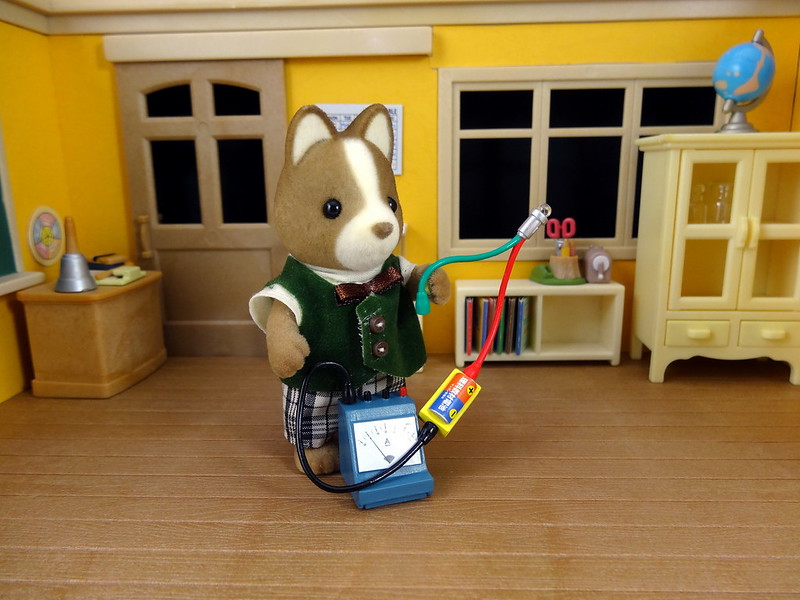
Mr. Huckleberry: So technically I can create a Frankenstein's monster with this, right? Awesoooome.
Mr. Butterglove (actual science teacher): No, not really.
Set 7: Dissection of Frog
Set comes with a scalpel, tweezers, medical scissors, a tray and a splayed out frog. The scissors are a bit large but overall, I think the set looks all right with Sylvanians. (lol)
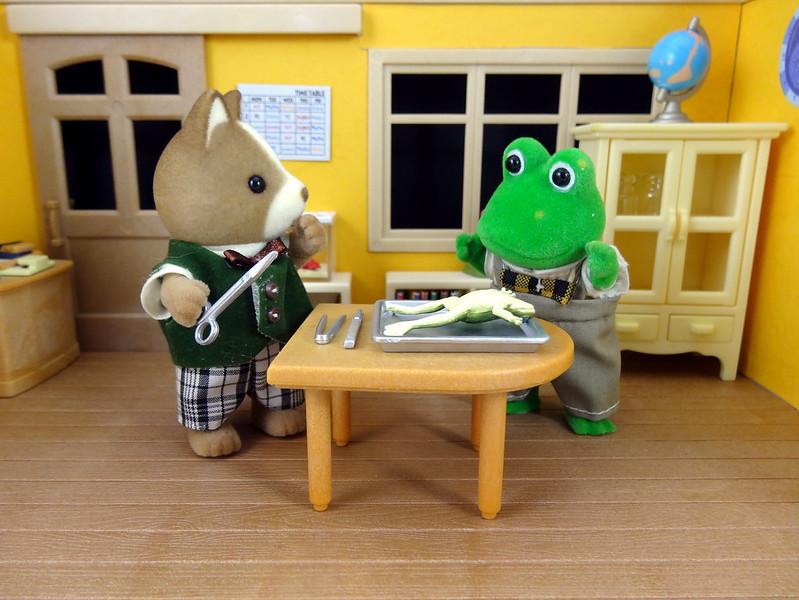
Mr. Bullrush: !!!
Mr. Huckleberry: I can explain...
Set 8: Making a Sponge Toffee
Comes with a bunsen burner, a pan, a cake and a stick. I have no idea why making a sponge cake is a science experiment. The bunsen burner is way too big for SF, although the cake in the pan can work.
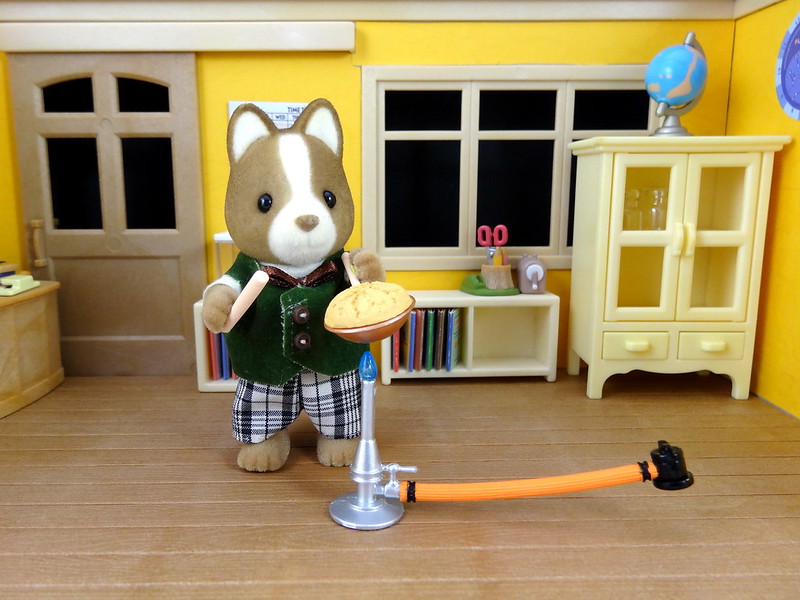
Mr. Huckleberry: Now this is the kind of science lesson I can really get behind!
Set 9: A Microscope
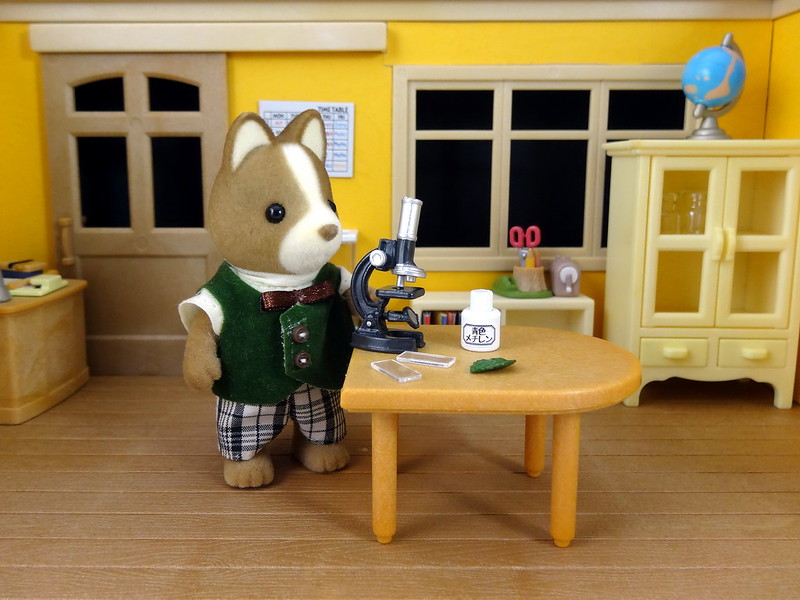
This set is so cool. It comes with two teeny tiny sildes, a microscope, a leaf and a bottle of something. The microscope scales well with Mr. Huckleberry (maybe a little bit on the large side, but I think that's offset by a Sylvanian's naturally large head).
Unfortunately the microscope in my set is bent. :( I have no idea how or if it can even be fixed. The plastic it is made of is a hard brittle kind, with very little give when I try to bend it. I'm afraid of snapping it if I try to put any kind of pressure on it. Otherwise, it's a nice set. It's a good alternative for SF fans who are looking for a microscope and can't get the official SF one (which is much less detailed anyway).
Set 10: Cleaning Up
Squee! More lab glassware! Set comes with another round bottomed flask, a beaker, two test tubes and a test tube holder. I only wish they had more test tubes--enough to fill that test tube holder up.
The test tubes fit SF quite well. The official SF versions of test tubes are much shorter.
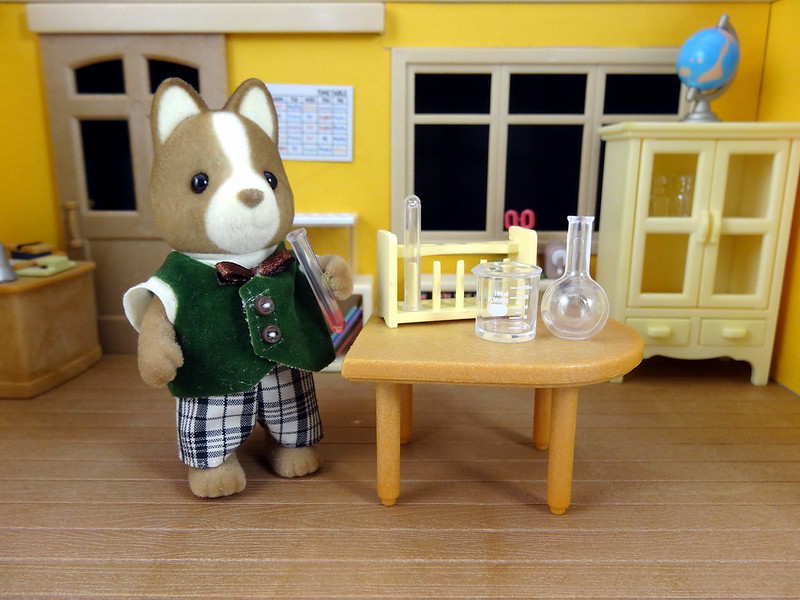
Mr. Huckleberry: Can I drink this?
Mr. Butterglove: No!
I'm also including a comparison of the Re-Ment Science items and the science items found in the old Sylvanian Families School Master set and the School Watching set. Re-Ment items are on the left, and Sylvanian items on the right (except for the round flasks on the bottom right--I mixed those two up).
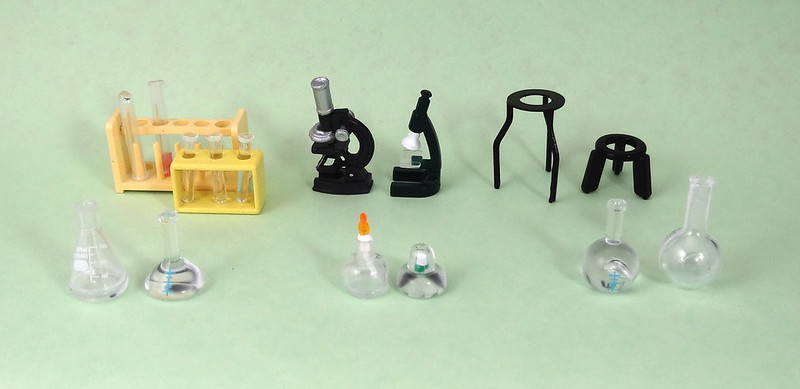
As you can see, the sizes of the items are mostly quite similar. I'm a bit surprised after doing this review to find out that so many of the items in this Re-Ment set actually fit Sylvanians . Usually Re-Ment items are on the larger side.
One thing to note is that the Sylvanian science accessories are much sturdier and more solid than the Re-Ment ones. Re-Ment is made with adult collectors in mind, so things tend to be far more detailed and as a result, more fragile. This set though, seems more fragile than most other Re-Ment items and the quality control is a bit on the lacking side. I really like the items in this set because they are so unusual (Re-Ment and other miniature companies seem to do more food than anything else), but I wish the overall quality of the items was higher.
If you want to get a set, the cheapest places I've found for it online (after taking into account shipping to Australia) has been AmiAmi and Fan21HK.

