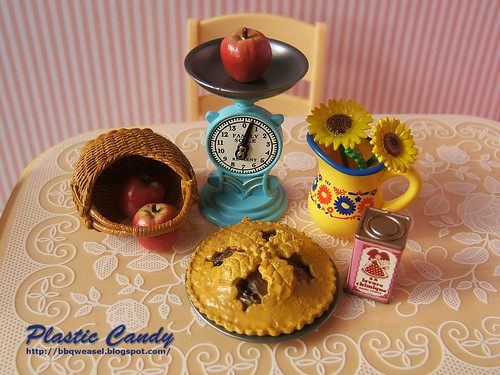
I finally photographed some of my RE-Ment. (FYI: RE-Ment is a brand of Japanese mass produced miniatures, so I didn't make these!) I originally took this for the local country show but at the last minute decided not to enter. I didn't think it was good enough to be worth the effort and cost of entering, then paying to go into the show grounds and waiting till the end of the show to collect the photo. So pic goes on Flickr and this blog. It's been a while since I just photographed random toys and it was really quite enjoyable. I really need to start photographing more toys again; set ups are such fun!
This is another thing I was going to enter in the show but didn't.
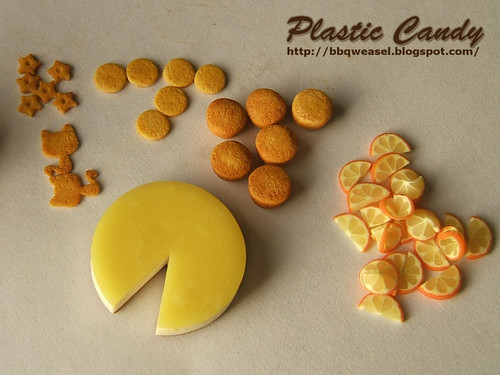
It was going to be an orange themed tea setting. I was rushing to finish it because the deadline for the show entries was much earlier than I expected, but in the end decided not to enter for the reason above, and also the fact that finishing it on time was stressing me out (I'm not good at making clay items fast) and I had more important things I needed to finish (teaching materials prep).
The yellow cake is supposed to be an orange cheesecake, and the yellow didn't come out as deep as I wanted unfortunately. Maybe it'll be better as a lemon cheesecake? There are also white spots on it; I think they may be air bubbles. :( I made another one before this which has an orange top but I really don't like it.
I plan give the round biscuits and that pile of orange slices a 'dipped in chocolate' look. Right not I'm undecided whether to use acrylic paint or to use liquid clay. The star biscuits will either get a chocolate chip in the middle or something red. Maybe a nut instead? See first la.
I wanted to give those cupcakes a swirl of icing on the top and decided to try the air dry clay + PVA glue trick I found on Atelier Dolie. It didn't work so well for me. Once I think I added too much water and the piped icing wouldn't hold its shape and sank down into a shapeless blob. Next time I tried with less water and it just wouldn't come out of my icing tip. I think that this technique might be more suited to the larger tips used in Sweets Deco than my tiny PME 42C tip.
If anyone has any tips on what to use for piping cream, please let me know. Right now I'm just going to go back to using Josonja's Texture Paste until I can find a better alternative. Tiff of One Dessert Please recommends using Mont Marte Modelling Paste, and I'm going to see if I can find it locally. Hopefully it's a more brilliant white than the off white of my current paste.
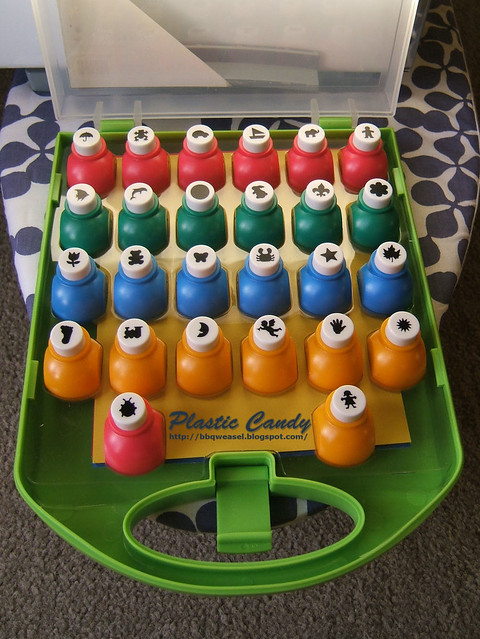
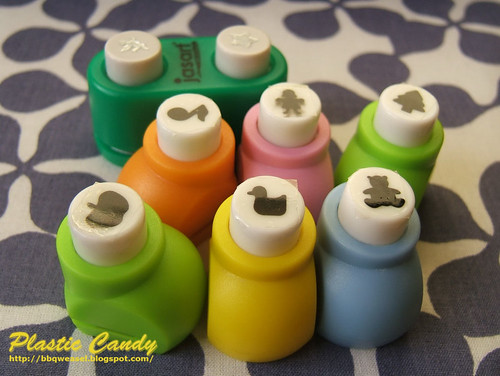
I must talk about the little cat shaped cookies in the pic. I used this paper punch for the shape.

http://www.blogger.com/img/blank.gifhttp://www.blogger.com/img/blank.gif
I'm going to have to put a piece of tape over it because the black ink smudges. :( I first saw that punch on Snowfern's blog and immediately fell in love. I mean, what's there not to love--it's a cat with a giant head! Sooooo cuteeee!!! I didn't have much hope of finding it, especially living where I do and I had never seen it on ebay.
I found it on Etsy. I wubs my kitty cat punch <3 Now if I can find the others in this series...the stars and the bunny are too adorable...
I think I've become totally addicted to mini paper punches.
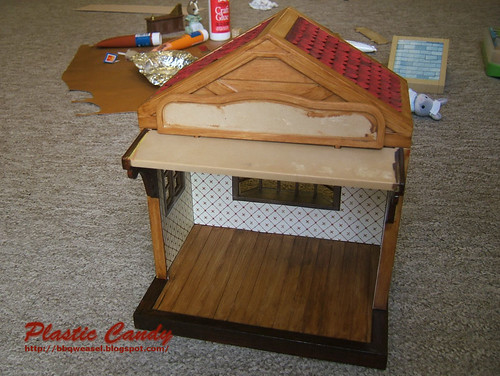
I made this gingerbread house a while back, but never got around to decorating it.
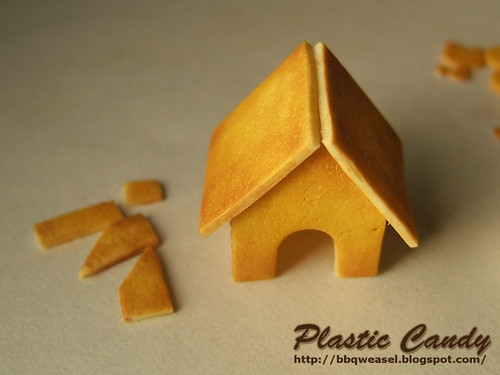
Now I've picked it up again and I'm still wondering what to put on there. Maybe Ihttp://www.blogger.com/img/blank.gif'll make it orange themed like everything else I have haha. And the pieces on the side is the chimney. I was rolling it between my fingers and trying to decide how to decorate it when it fell to pieces. Guess cheap superglue is not necessarily the best thing to be using. :P
Oh yeah, I got the plans for the house from Pine Studio, which has many great tutorials. Next time, I'll make my own plans. I like to link to my tutorial sources, I hope it's useful to others reading this blog. :)