
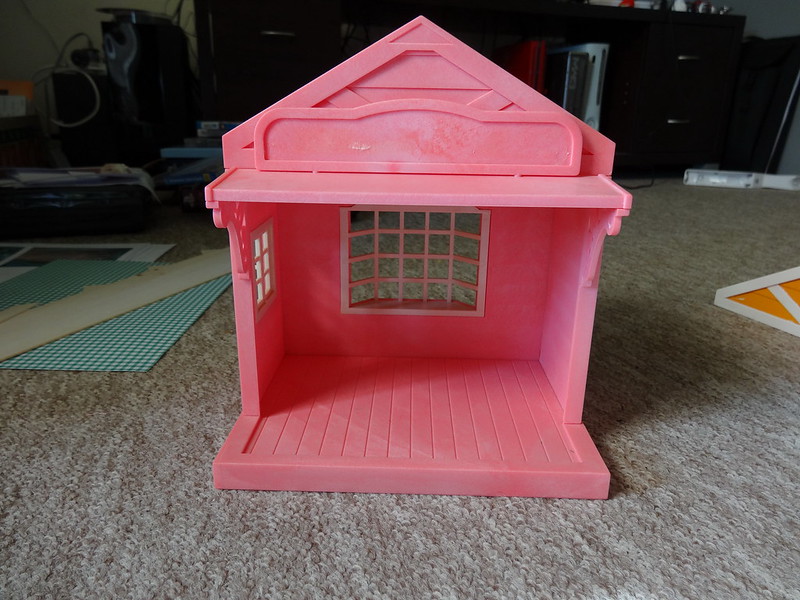
I decided to customise one of the small cottage shop buildings for this. I used the pink building from the Madeline's Boutique release (Ms Madeline already has a nicely outfitted shop in my village). The pink building is one of my least favourites. There's something really un-Sylvanian about it. Most SF buildings tend to come in natural shades of brown and cream, and even when there's a pink building (the Urban Life Cafe Terrace springs to mind), it's not obnoxiously bright like this one is.
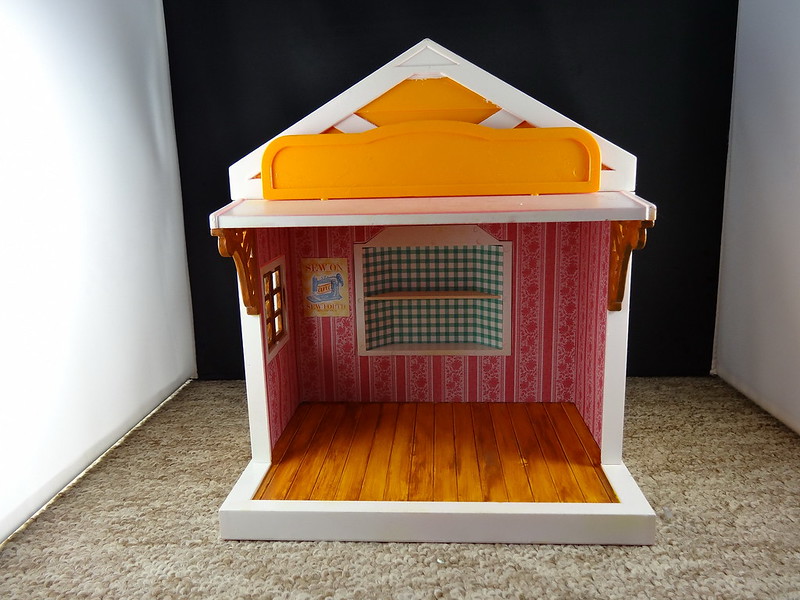
I had considered using light pink and white, but I settled for a bright yellow and white instead. I'm glad I did, I like the yellow! I also got rid of the bay window and put in a balsa wood shelf. I really liked how the bay window looked, but there really isn't enough space for a lot in these little shops. I decided to put in the shelf after seeing moonrabbit_ly's photos of her sewing setup. There's not going to be enough stuff in my shop! No ribbon, not enough buttons, and especially no fabric. What kind of sewing supplies store has no selection of fabric?
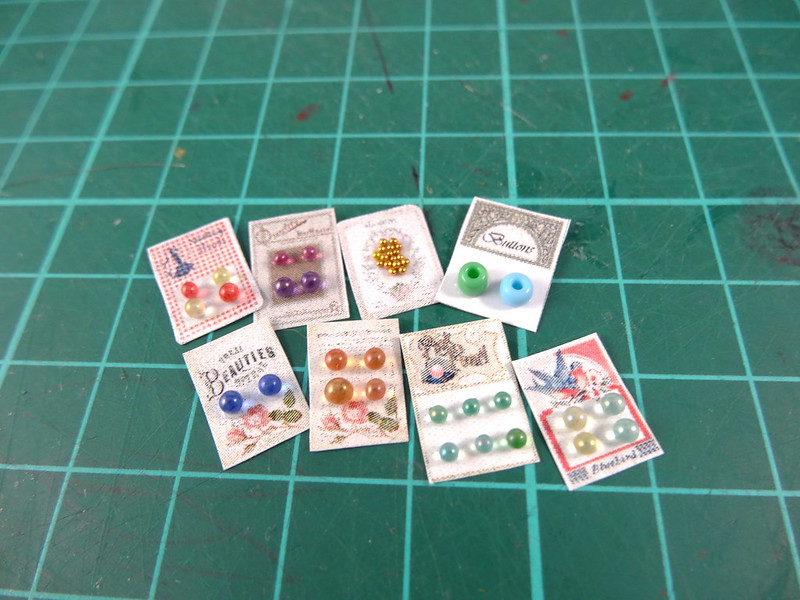
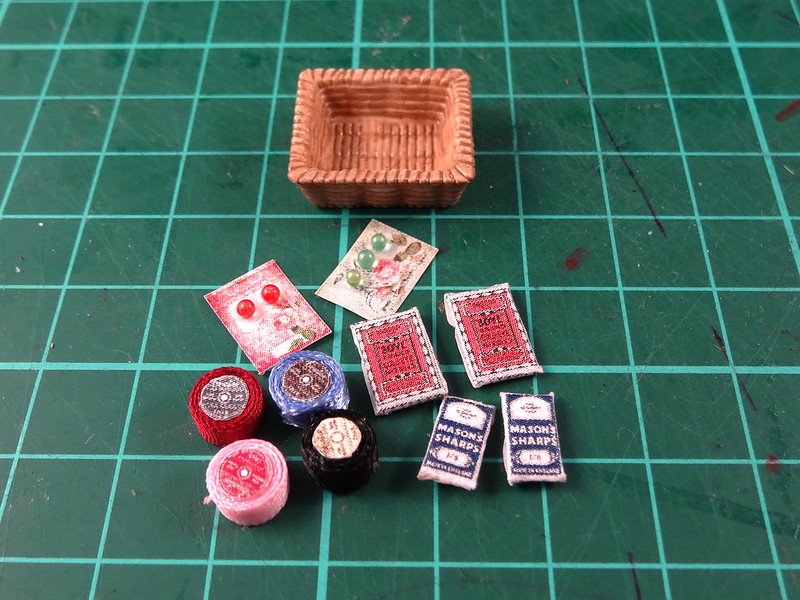
Anyway, I started work on the accessories. Here are some buttons. I used micro beads I found at a cheap shop a couple of years back for most of them. I regret I didn't try to do a pattern with the tiny gold micro beads to make it look like one of those cards with fake gems on it.
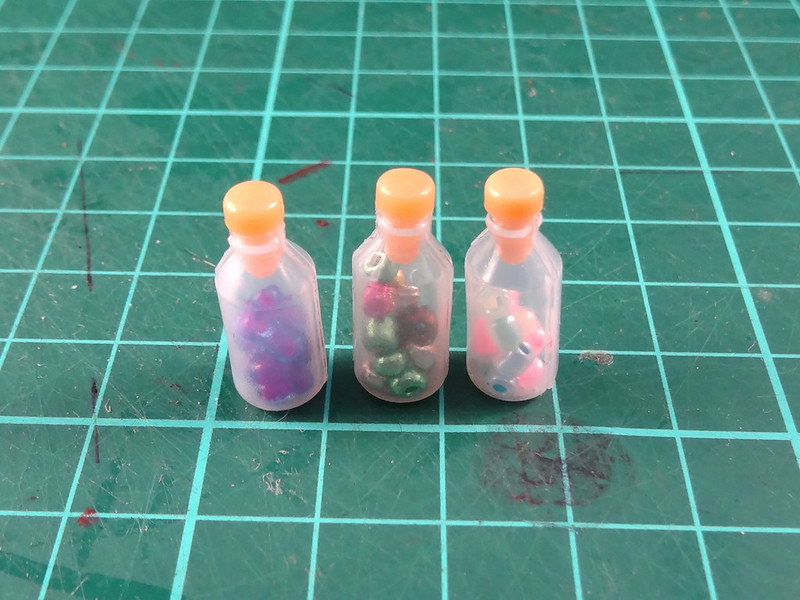
I saw this on the Crafty Ladybug's site years ago. I cut the tip off those useless UK baby bottles and sanded the tops down and filled them with beads. I'm pleased by how natural the tops ended up looking--like they were always meant to look this way. :)
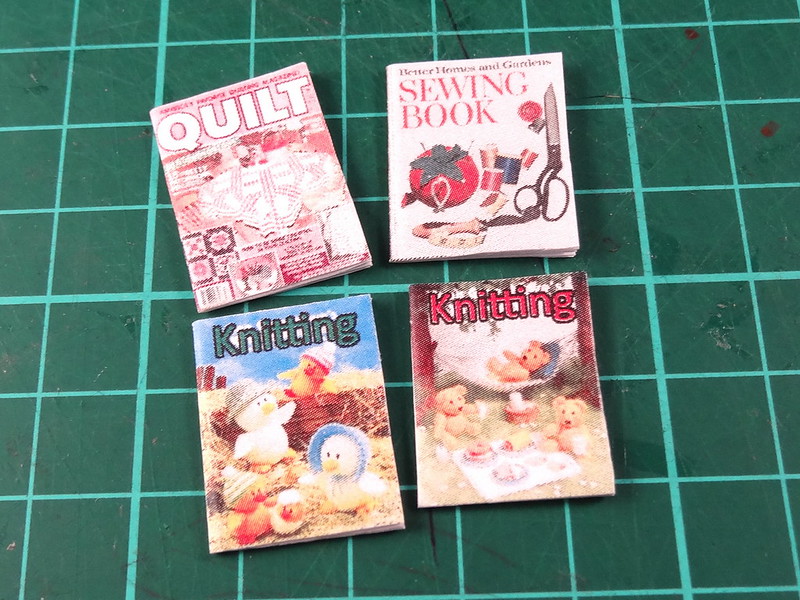
I also made some magazines, and a couple of books. The book covers were made using fabric. I love how the quilting book turned out. I was missing the paint brushes from the sewing shop, so I made some out of the ends of a couple of cocktail toothpicks. The fancy ends make for awesome brushes. To make the bristles, I chewed on the ends to make it split.
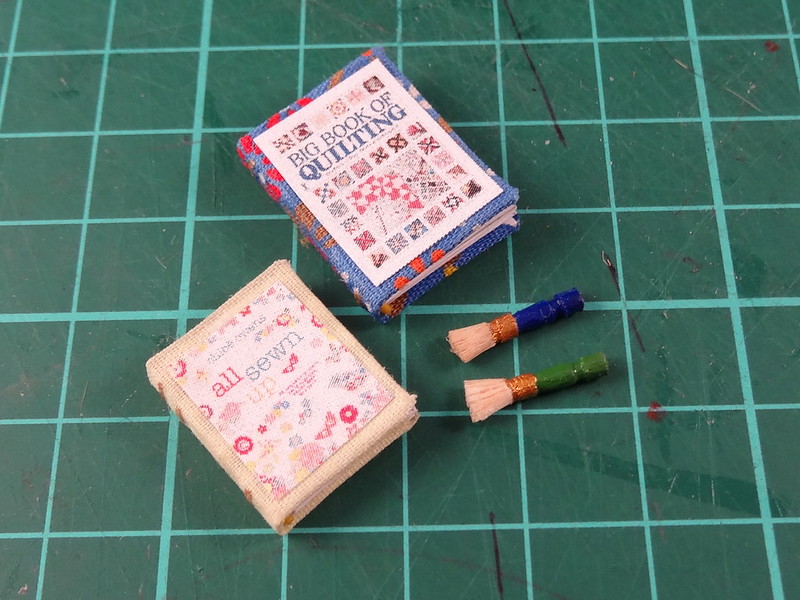
I'm also missing the original bottles of fabric paint from the sewing shop, so I made my own with some beads and cork paper. I guess I could have made the lids with polymer clay, but at the time I CBF.

There was some extra space on the shelves so I found an extra SF tray, painted it and filled it with goodies. The little packets are supposed to be packets of pins and needles. For the ribbon I used craft ribbon and those annoying little ribbons that come sewn on the shoulders of women's tops. I think they're for hanging the tops or something? I generally find them annoying so I cut them off.
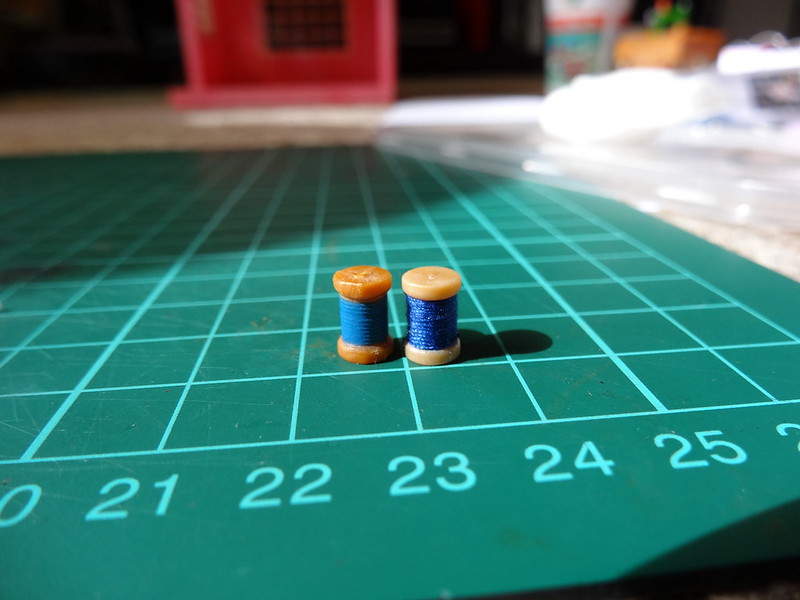
After making those accessories, I looked at the little spools of thread and they just don't look 'real' enough when placed next to all the other stuff. I decided to be extra picky and wind real thread around them.
I've only got to make the sign, awning and the roof tiles and the shop will be complete. And maybe I'll be able to take better pictures of it after that. The pictures for this entry have been pretty dismal.
What an amazing transformation! I really like all the little bits and bobs, but the spools of thread are by far my favorite! :D
ReplyDeleteWow Pei :o What a tranformation. Did you paint the floor? It imitates wood so well. The bits and bobs look good, I can't wait to see the next part!
ReplyDeleteI threaded some wooden spools for my sewing shop! :) Your things are beautiful! I wish I was that talented with FIMO!!!!!
ReplyDeleteOh my goodness this looks absolutely amazing! This must have taken a lot patience.
ReplyDeleteHello Pei,
ReplyDeleteTerrific work. you have really transformed the look of the shop.
Big hug,
Giac
amazing work! I love all the bits and pieces but I'm really interested in how you repainted the shop, because I have a similar one and have been meaning to redo it for ages, but have never got round to it... yet! What kind of paint did you use? SF plastic doesn't look like it would be easy for paint to stick to it... Did you sand or prime it before painting? Thank you!
ReplyDeleteThanks guys! XD
ReplyDeleteSuvenkorento - Yep. I painted the floor yellow first and then used a stiff brush to paint a light brown over that. The brush makes all the streaks that imitate a wooden floor.
marcella - I mostly use spray paints, but it depends on what effect I'm after. For a nice even colour, I just use cheap spray paints, and if I want a wooden texture, I use acrylics and a brush.
I only prime when I feel I need a lighter or darker colour underneath. Sometimes the paint doesn't stick too well, but I've only noticed it on one of the buildings I painted--the Grand Mansion. In some areas the paint started beading. Most of the time, I've found that it's fine not to prime or sand, but it may be better for you do do so. I'm just lazy. :P
I like what you did with the color of the shop, and the bay window/shelf transformation is fantastic. Can't wait to see the whole thing with all of the accessories in place. xo Jennifer
ReplyDeleteI am always inspired by your blog and your work! You always seem to note even the smallest detail. Love the books and sewing accessories that you made!
ReplyDelete