Monday, 28 March 2016

Re-Ment Science Room and Sylvanian comparison review

This is for the folks over at the SF Forums. This review will take a look at the new-ish Science Room set and see how well it fits with SF figurines. Mr Huckleberry, a teacher at the local school has agreed to be the model (he really just wants to play with all the new science equipment).


 photo 15f9ceebe19024f2e8c84ae324d40a44.image.433x600_zpseq09udbx.jpg


There are 10 sets in this release. All the sets have names in English as well, and I'm going to use what's written on the packaging. Any Engrish is not my fault :P

     photo s_zpszexhbd3s.jpg


Set 1: An Anatomical Model

I think size wise, it fits SF quite well. All the organs in the model are removable and the figure comes apart from the pedestal as well. Only thing is, it doesn't quite fit in the SF world of anthropomorphic animals.
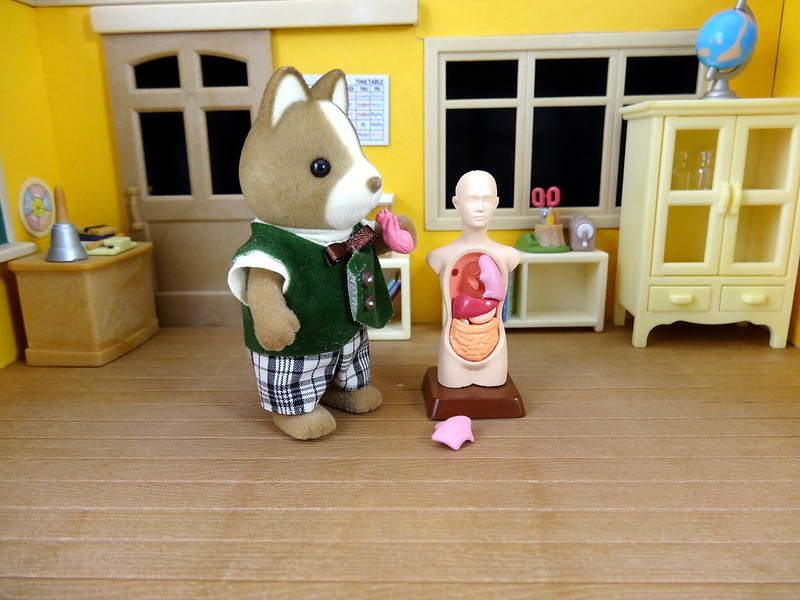
Re-Ment Science 1

Mr. Huckleberry: How does human anatomy work again? I could have sworn the human heart was located next to the spleen.

Well,  Mr. Huckleberry never claimed to be a science teacher...


Set 2: Experiement of Boiling Water

The second set consists of a beaker, wire mesh, a bunsen burner and a stand. The beaker and the bunsen burner fit quite well with SF, but the stand is way too tall.
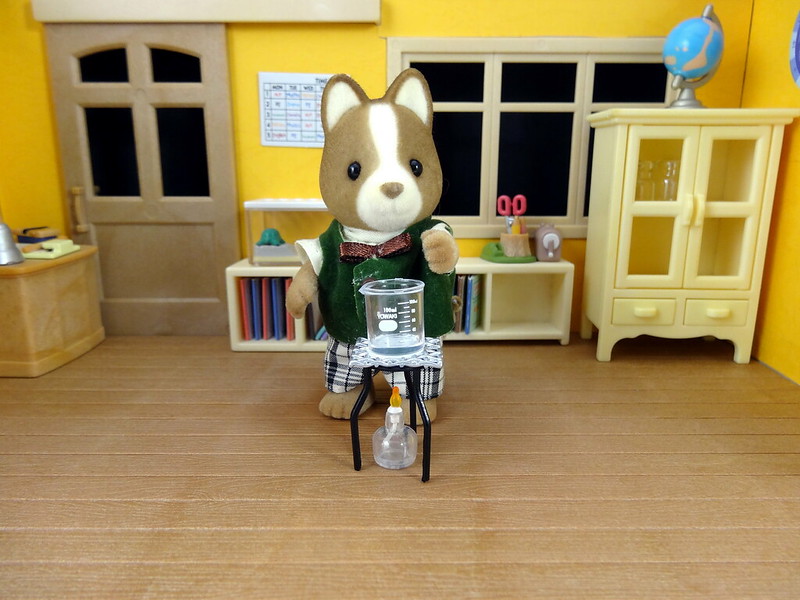
Re-Ment Science 2

Mr. Huckleberry: I forgot to add the water. Look, the bottom of the beaker's turning black.


Set 3: Roberval Balance 

I find the scales frustrating. Re-Ment's quality has gone down in recent years, and it really shows in this set. My scale is twisted and uneven and made of a very lightweight plastic that feels like it could break easily. I think it looks a little large for SF, but it could act as a big scale. Comes with some weights, plates and a pair of tweezers.
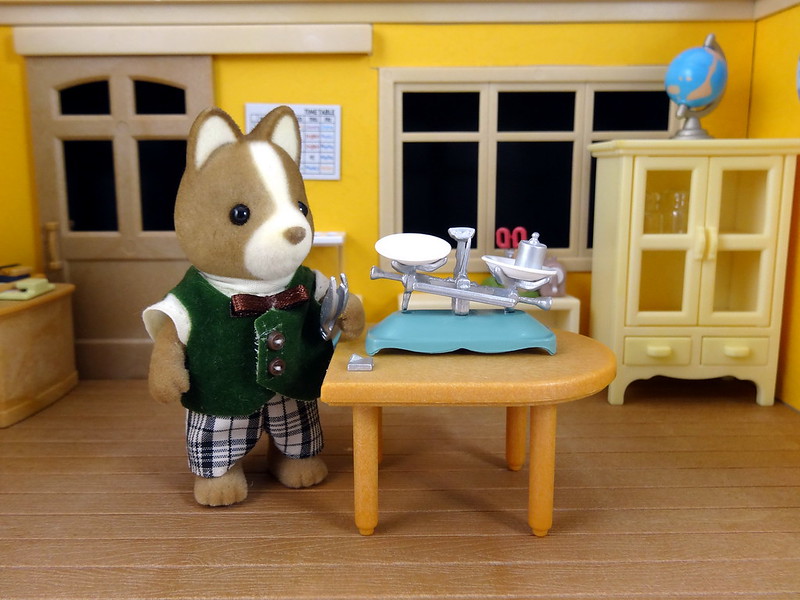
Re-Ment Science 3

Mr. Huckleberry: It's stamped 'Made in R'lyeh' on the bottom. No wonder the scales don't conform to Eluclidean geometry.  Oh, hey, it's starting to ooze something black. 


Set 4: Experiment of Starch

Ah, this set brings back memories of secondary school. The set has two petri dishes, half a potato, a water dropper, a bottle of iodine and a book. I placed the book face down because it looks nicer, but the inside has the potato experiment scribbled down on the pages. I'd say that everything in this set scales nicely with SF, except for the dropper. Unless you're using it as one of those huge droppers you see in sciencey stock photos, haha.
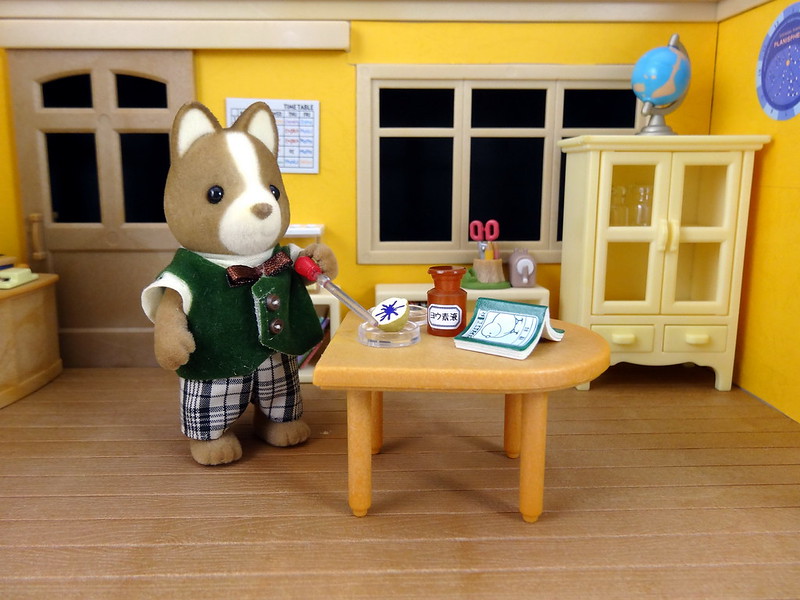
Re-Ment Science 4


Set 5: Experiment of Water Solution

This set has all the laboratory 'glassware' goodies! A round bottomed flask, a conical flask, a measuring cylinder and a mortar and pestle. I'm a little disappointed by the quality of the glassware though. Re-Ment used to make nicer glass things. The seams are very visible and my round bottomed flask came to me partially cloudy.

Only the measuring cylinder seems too big, everything else looks great.
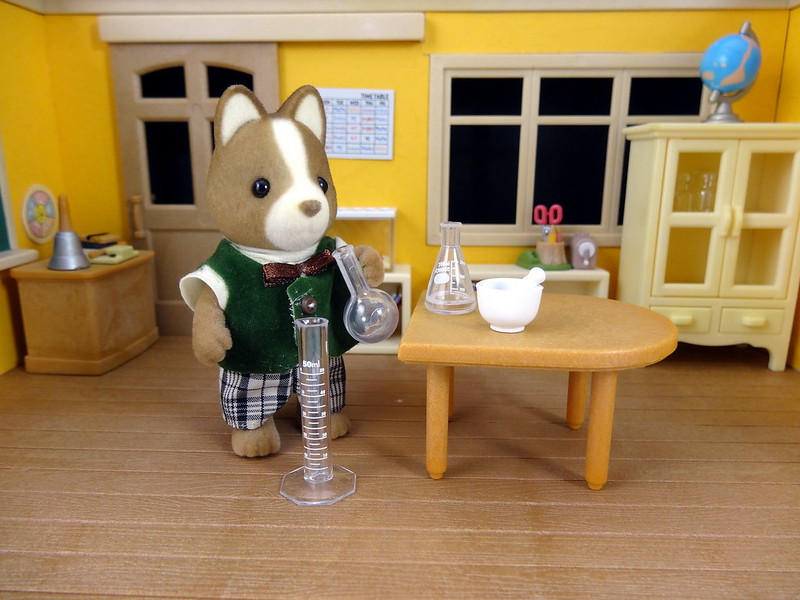
Re-Ment Science 5

Mr. Huckleberry: A Scientist's Starter Kit. Mad or otherwise is up to the user. 


Set 6: Function of Electric Current

The battery and light bulb experiment was the first school physics experiment I did. I was in grade 1, so technically, my dad did it and I watched. Set comes with wires, a battery and a voltage meter. The wires are detachable. The battery is not a separate piece (I have a feeling in 'old' Re-Ment it would have been), but it's not something that really bothers me in this set.
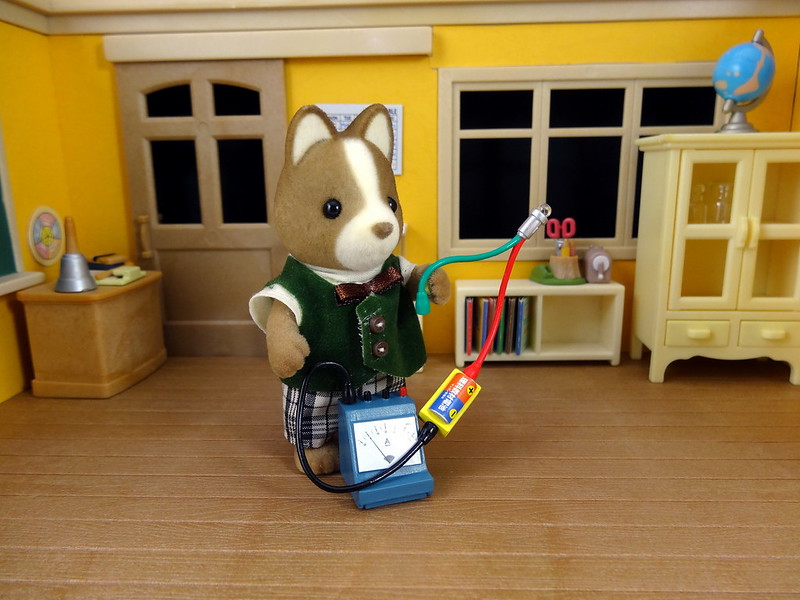
Re-Ment Science 6

Mr. Huckleberry: So technically I can create a Frankenstein's monster with this, right? Awesoooome. 

Mr. Butterglove (actual science teacher): No, not really. 


Set 7: Dissection of Frog

Set comes with a scalpel, tweezers, medical scissors, a tray and a splayed out frog. The scissors are a bit large but overall, I think the set looks all right with Sylvanians. (lol)
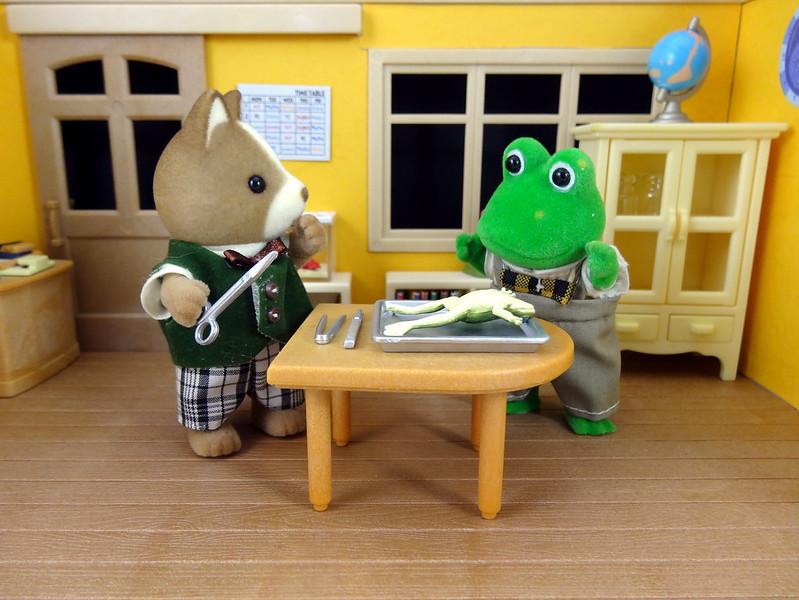
Re-Ment Science 7

Mr. Bullrush: !!!

Mr. Huckleberry: I can explain...


Set 8: Making a Sponge Toffee

Comes with a bunsen burner, a pan, a cake and a stick. I have no idea why making a sponge cake is a science experiment. The bunsen burner is way too big for SF, although the cake in the pan can work.
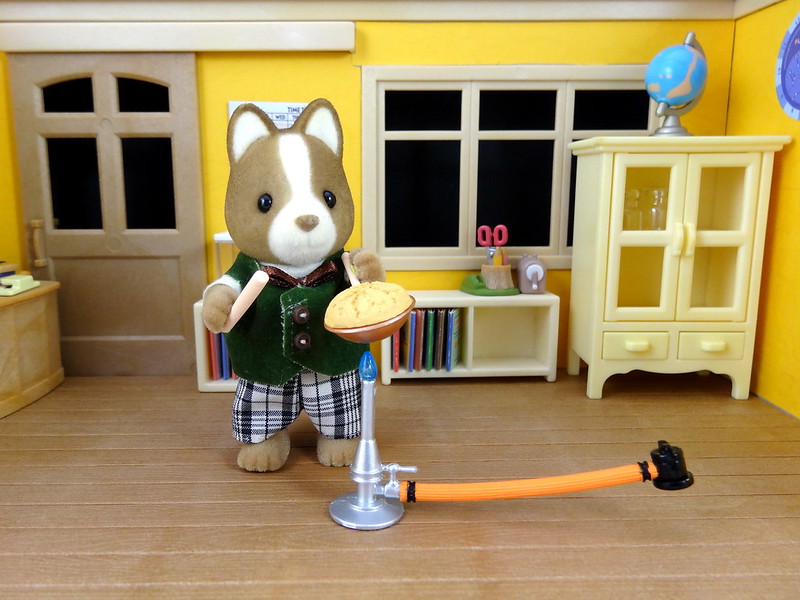
Re-Ment Science 8

Mr. Huckleberry: Now this is the kind of science lesson I can really get behind!


Set 9: A Microscope

This set is so cool. It comes with two teeny tiny sildes, a microscope, a leaf and a bottle of something. The microscope scales well with Mr. Huckleberry (maybe a little bit on the large side, but I think that's offset by a Sylvanian's naturally large head).

Unfortunately the microscope in my set is bent. :( I have no idea how or if it can even be fixed. The plastic it is made of is a hard brittle kind, with very little give when I try to bend it. I'm afraid of snapping it if I try to put any kind of pressure on it. Otherwise, it's a nice set. It's a good alternative for SF fans who are looking for a microscope and can't get the official SF one (which is much less detailed anyway).
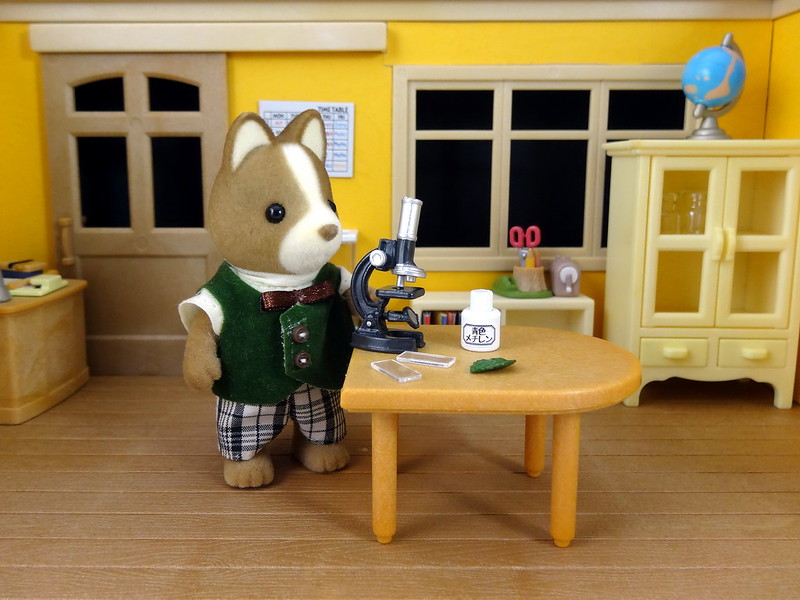
Re-Ment Science 9


Set 10: Cleaning Up

Squee! More lab glassware! Set comes with another round bottomed flask, a beaker, two test tubes and a test tube holder. I only wish they had more test tubes--enough to fill that test tube holder up.

The test tubes fit SF quite well. The official SF versions of test tubes are much shorter.
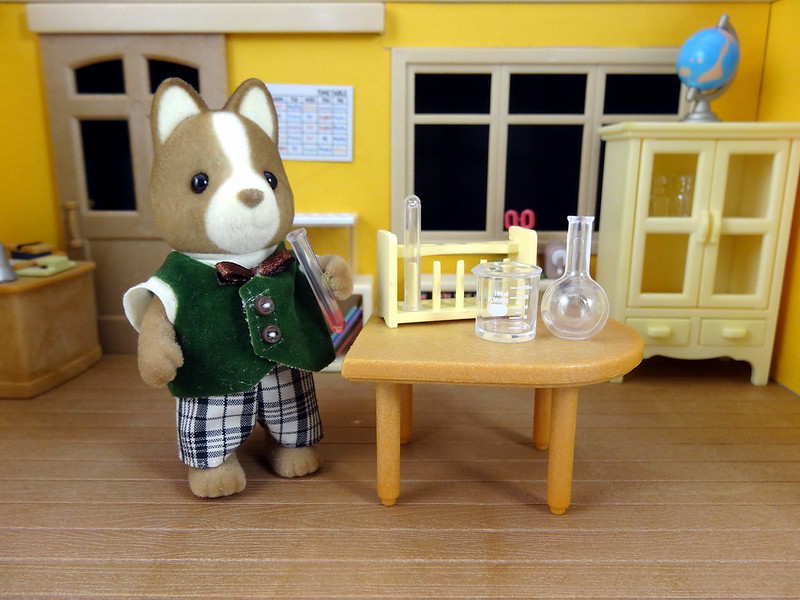
Re-Ment Science 10

Mr. Huckleberry: Can I drink this?

Mr. Butterglove: No! 

I'm also including a comparison of the Re-Ment Science items and the science items found in the old Sylvanian Families School Master set and the School Watching set. Re-Ment items are on the left, and Sylvanian items on the right (except for the round flasks on the bottom right--I mixed those two up).
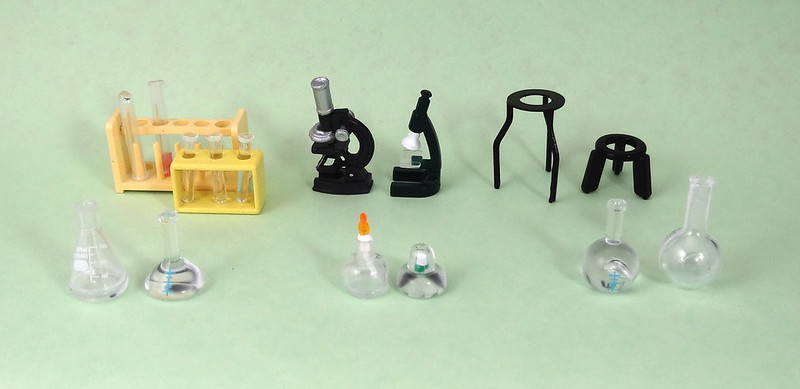
Rement and SF science comparison

As you can see, the sizes of the items are mostly quite similar. I'm a bit surprised after doing this review to find out that so many of the items in this Re-Ment set actually fit Sylvanians . Usually Re-Ment items are on the larger side.

One thing to note is that the Sylvanian science accessories are much sturdier and more solid than the Re-Ment ones. Re-Ment is made with adult collectors in mind, so things tend to be far more detailed and as a result, more fragile. This set though, seems more fragile than most other Re-Ment items and the quality control is a bit on the lacking side. I really like the items in this set because they are so unusual (Re-Ment and other miniature companies seem to do more food than anything else), but I wish the overall quality of the items was higher.

If you want to get a set, the cheapest places I've found for it online (after taking into account shipping to Australia) has been AmiAmi and Fan21HK.

Thursday, 3 March 2016

Sea diorama

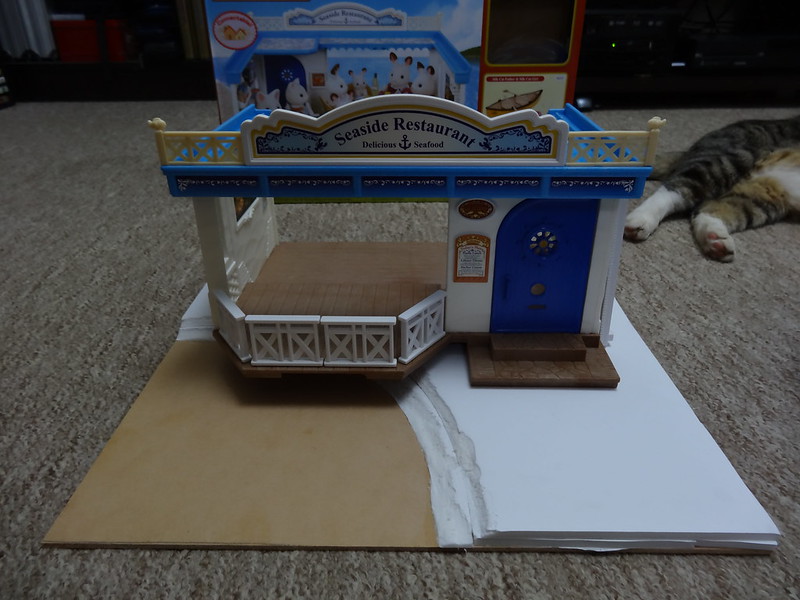
Started work on a seaside diorama base so I have something to put my Seaside Restaurant on. I cut out a piece of wood so it fits into my display shelf. Would have liked for it to be bigger for photographing dioramas, but I really wanted something for a permanent display piece more. I used Ashmimi's tutorial. Go visit her site. That lady's brilliant.
I think I should have used just one layer of foam board instead of two.

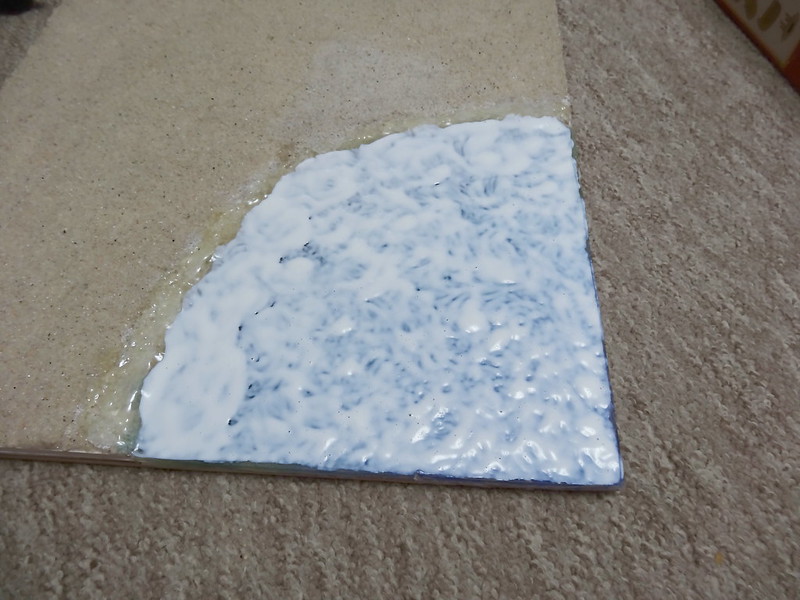
Sea diorama base 1


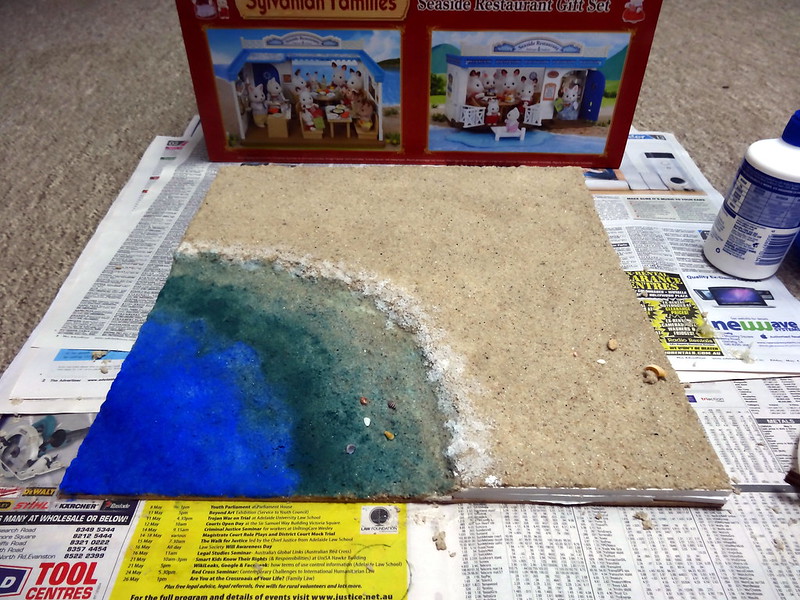
Nicked some sand from the beach next to my work and mixed it up with some watered down Aquadhere (brand of wood glue). The sand dried rock hard--I was impressed. I thought it would be a little crumbly, but it's not. Wouldn't do to get it wet though; Aquadhere is water based.

Also painted the 'sea' bit with acrylics. I tried to mix a turquoise colour, but it came out more green than I wanted. Oh well. This sea is full of algae or something.

Sea diorama base 2


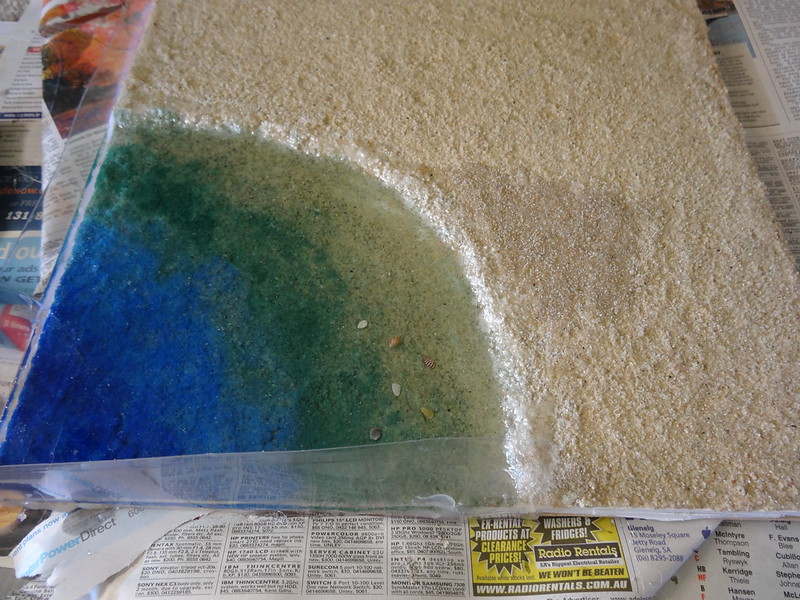
Glued some plastic on the sides and poured resin to make the sea. I've been using Glass Coat as my go-to resin of choice for years, but I learned that Bunnings doesn't carry it anymore. I ran out of Glass Coat half way so I had to go find another resin. Bunnings had Feast Watson, which works just as well.

Sea diorama base 3


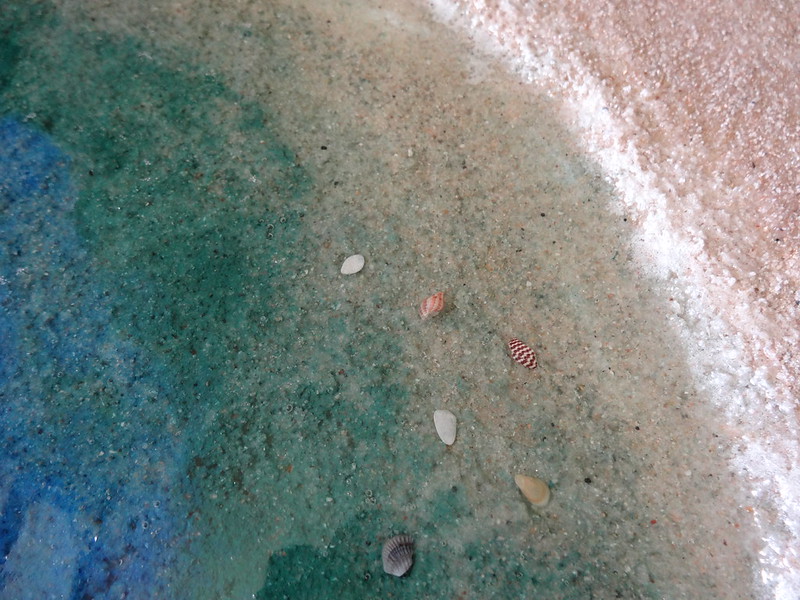
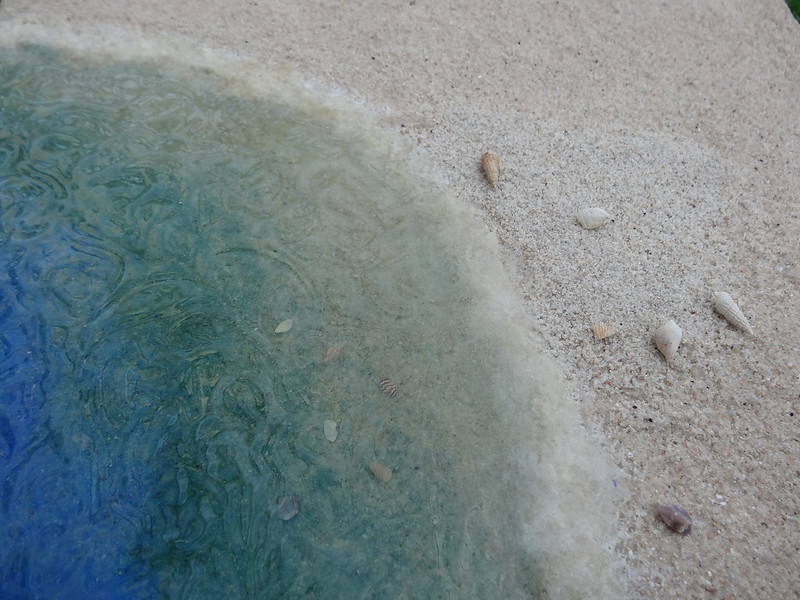
I also put some little shells from the beach in the water. I love that little red striped conical one. Unfortunately there was some air trapped in it and it floated to the surface overnight while the resin hardened. I had to do a second pour or resin to stop it from looking like it was bobbing on the surface. The sea was too shallow anyway. My plastic sides weren't watertight so part of the resin leaked out overnight. I had a lot of trouble getting that area to seal well enough to hold all the resin. :/ I used more resin than I wanted, and that stuff is not cheap.

Sea diorama base 4


Ashmimi used a 5 minute curing epoxy for the ripples. The only one I could find that I didn't have to order online for was Araldite, and that stuff is expensive for the tiny tube it comes in. I experimented with shaping the resin as it was curing, but only managed to get a slightly lumpy effect. I tried Mod Podge after seeing some other miniaturists use it, but I guess I can't spread it right. It keeps getting heaps of tiny bubbles in it which leaves many pockmarks on my 'water' surface. I ended up just peeling it off (one good thing about Mod Podge is that it's easily removable from resin) spreading Aquadhere all over it. Aquadhere doesn't hold its shape as well as Mod Podge IMHO, but it'll do.

Sea diorama base 5


Here's the end result. The waves are certainly not natural, haha. I'll have to redo it again someday, but I'll leave it like it is for now.

Sea diorama base 6


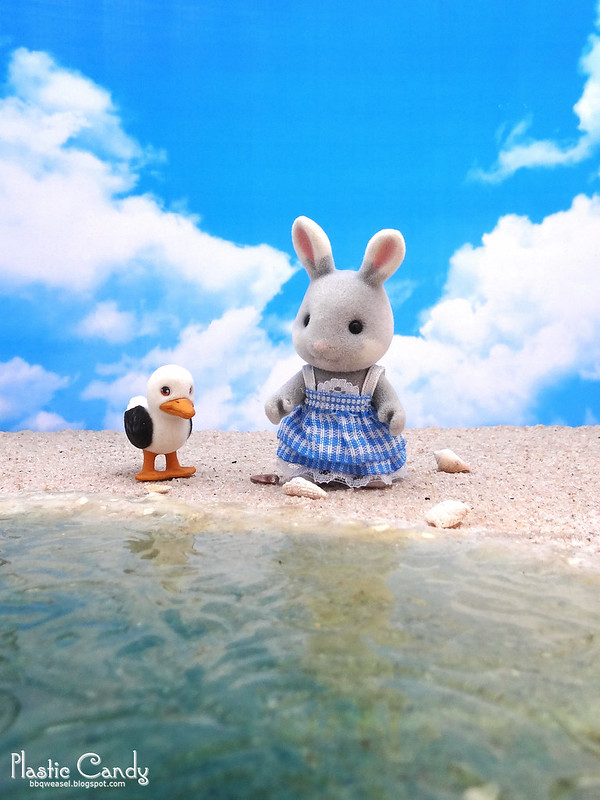
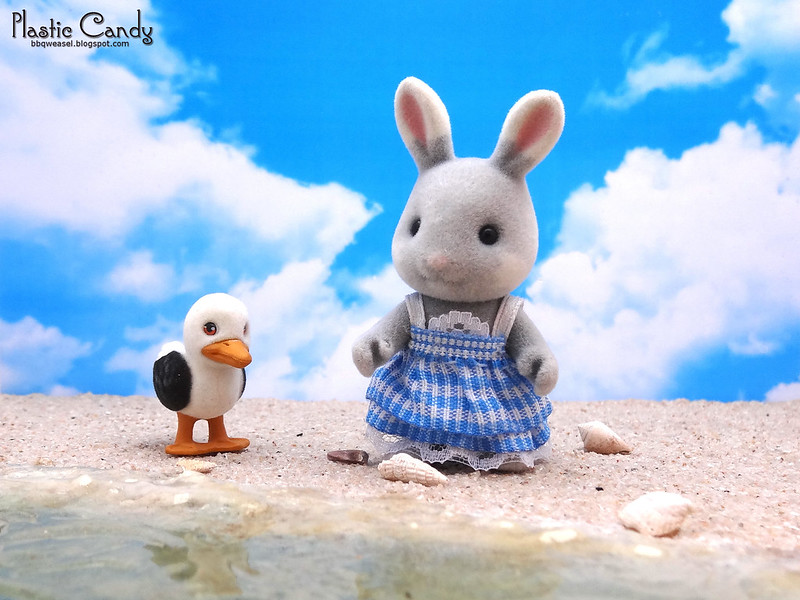
Here it is in a photoshoot! I also made the dress, but I'll talk about it in another post.


At the Sea (2)


At the Sea

Friday, 8 January 2016

Baby Bratz custom

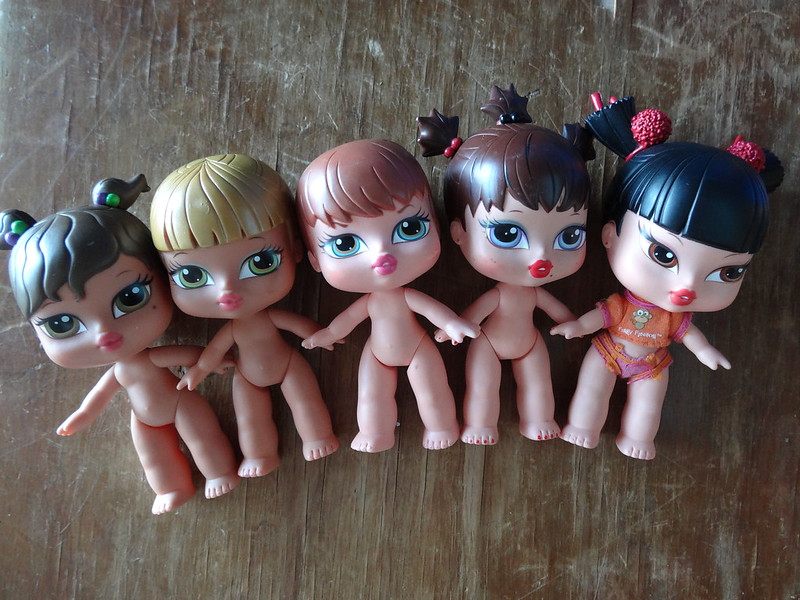
I found a bag of Baby Bratz dolls at the local op shop (thrift store). I've got a ton of unfinished projects, but hey, what's one more? I admit, I dislike the strong makeup that most fashion dolls have. I know lots of people love that fierce, edgy look, but I prefer softer colours.


Baby Bratz thrift store find
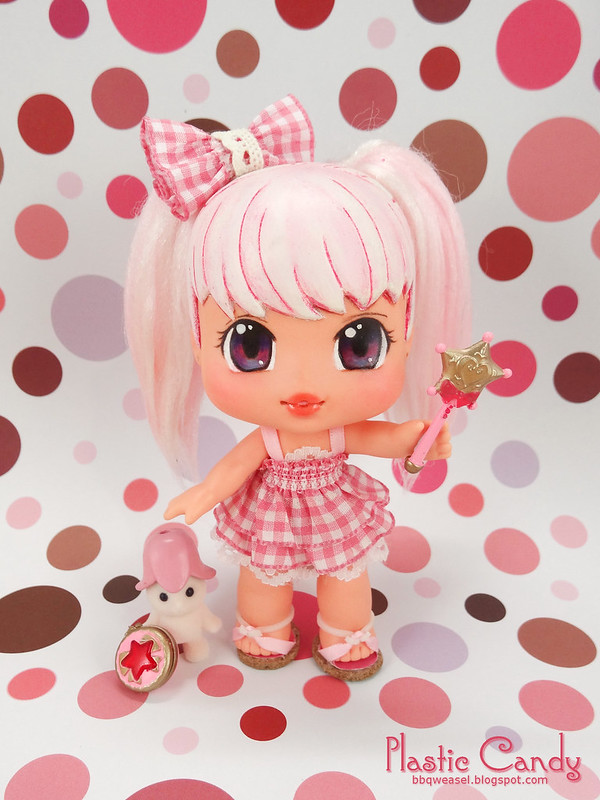
I repainted one of the dolls and gave her the biggest anime eyes I could get away with. And made her pink. So pink, because I love pastel pink (neon pink can go jump off a cliff) and because I only had pink ruffle ribbon. Her dress is basically a cheat dress made of ruffle ribbon and lace. Turned out better than I thought it would. I think I'll have to try it on some SF figures and if it works out, do a small tutorial. Her hair is made of brushed yarn because I don't really want to spend money ordering proper doll hair. I used colour pencils to do her hair, but it was pain and a half and didn't come out as nicely as I wanted. Next time I'm just going to use paint. I'm thinking of doing up the rest of the dolls in this style, with different colours.


Custom Baby Bratz

Went on holiday, bought things:


Presents from me to me
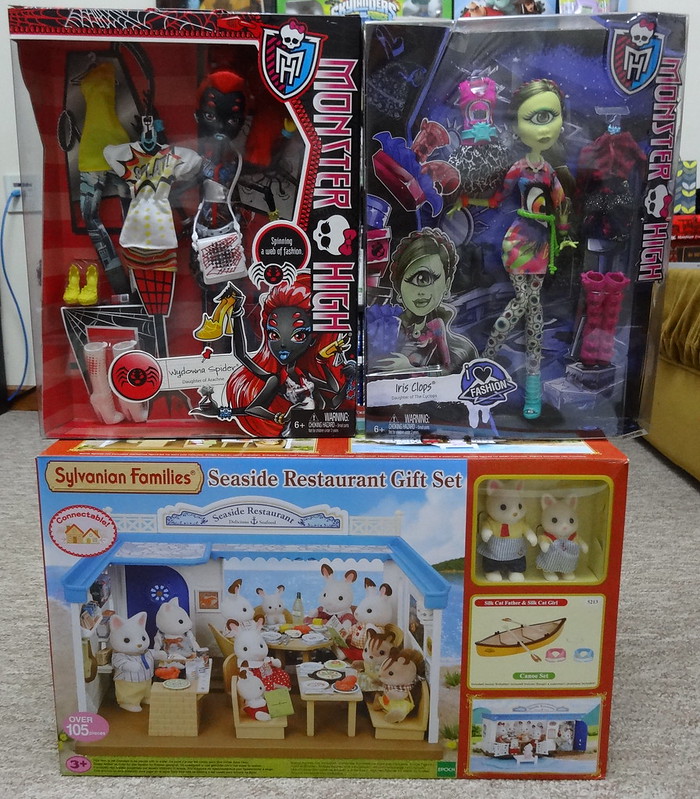
The Sylvanian restaurant set was also from Toys R Us, but I bought it on sale about a month and a half ago. Just hadn't gotten around to opening it, ha. Now that I have, I've discovered that the building is full of interesting molded details to paint.

I finally got Wydowna! I've been wanting her for two years now, but the prices for her in Australia are ridiculous. $50 normal retail? Ugh. I've tried trading for her with a Haunted Rochelle on the Monster High Arena forum, but the trades fell through THREE times after people realised how much shipping from America to Australia would cost. >_>

Anyway, I finally found Wydowna for the much more reasonable price of $35. Toys R Us had a pretty good discount on Monster High. I even got Iris too, because I love the monstery-ness of a one eyed fashion doll. My husband said she looked like a green Leela.

I love the more monstery dolls of MH. I hope the reboot doesn't wreck that. I know I said that I like softer pastel colours on dolls, but sometimes a fierce look just suits them. Depends on the character and the mold. I like the wide eyed look the reboot preview showed for Lala and Frankie, but on Cleo? Nope. Big piles of Nope. Cleo looks best with her narrow eyes and dark make up.


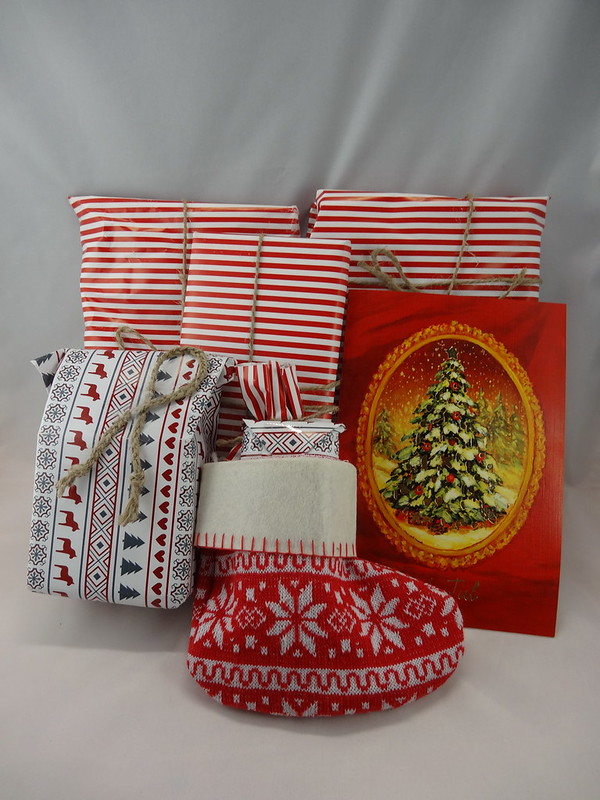
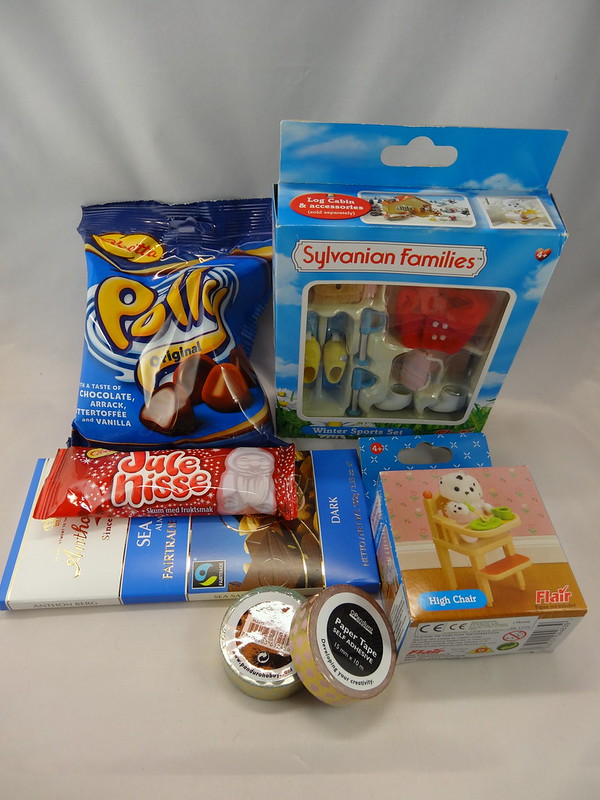
I also need to blog about the wonderful package Wildberry sent me. Her handmade sock is lovely, and the chocolates--yum! I love the ski set and everything. All nicely wrapped too. XD


Sylvanian Sock Swap 2015


Sylvanian Sock Swap 2015

Saturday, 26 December 2015

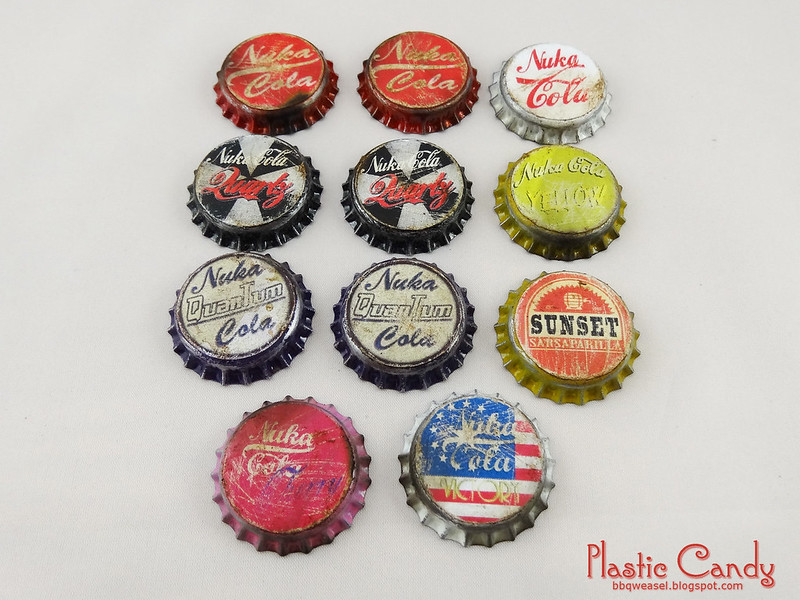
Nuka Cola Cap Collector Box

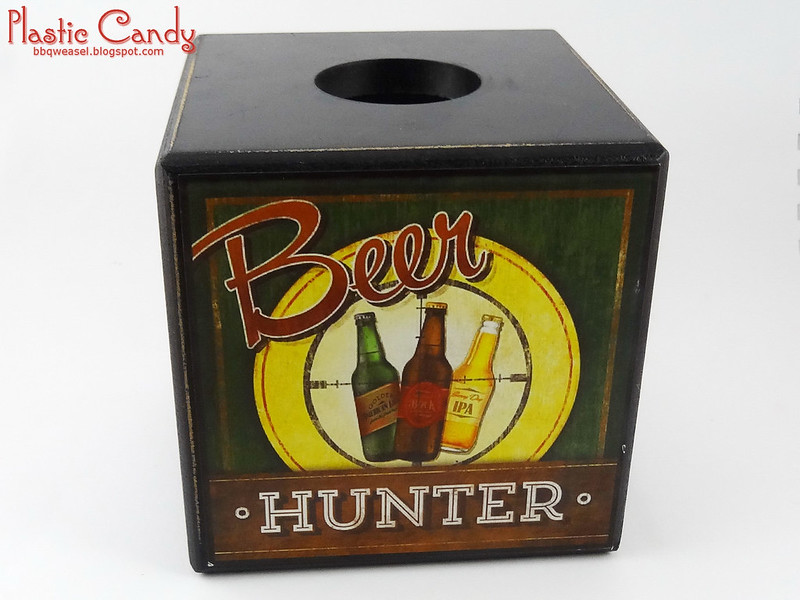
I got this at my work Christmas Party. I gave it to my husband, because I thought it would be funny. He looked at it awkwardly and told me that I should put some Nuka Cola caps in it. I had thought about it before giving him the box but felt a little reluctant because the last time I made Nuka Cola caps it was for my brother-in-law's funeral.


Nuka Cola Cap Box Project

Anyway, in the end I decided that I would go ahead and redo the entire box and give it to my husband as a Christmas gift. I planned on doing up the bottle caps with far more detail that the funeral caps had, and in a variety of types. Make real life Nuka Cola caps have something positive  associated with it rather than just that horrible memory.

I wanted to do it up with a Fallout theme, but in a way that also made some kind of sense. I mean, why would anyone have a box for collecting bottle caps? Thus the Bottle Cap Lottery and the Cap Collection Crate was born.

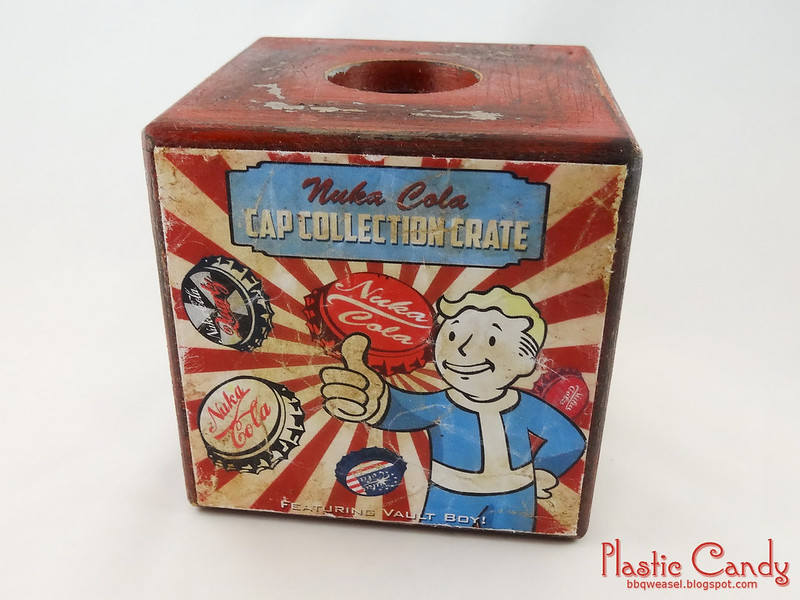
The front of the box. I think I should have put Cap Collector's Crate on it instead, but it was too late by then. I had thought about Cola Cap Crate, but for some reason the closeness of the 'c', 'p' and 'r' letters made me think of 'crap'.


Nuka Cola Cap Box Project

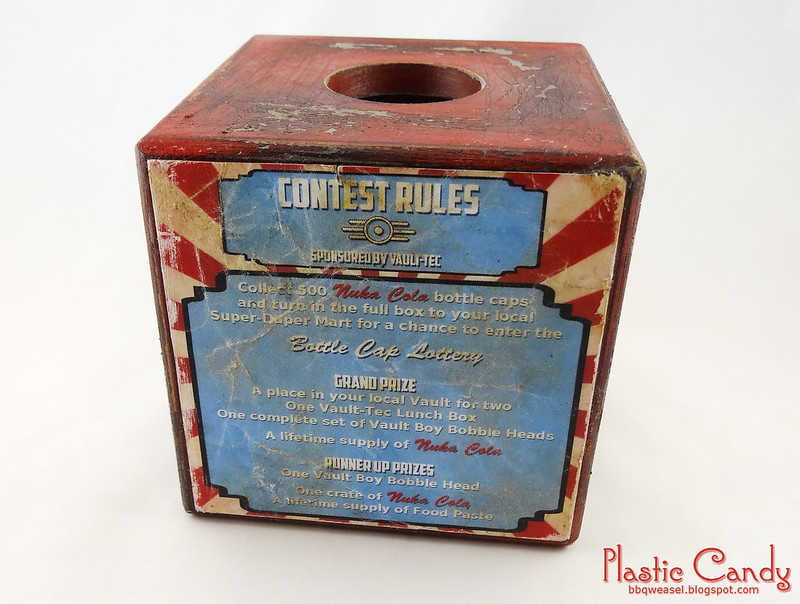
The back of the box with the contest rules. Hope it's readable. Husband said that he reckons that the time limit for turning in the box of caps should be about two weeks. I wonder if you'd turn into a ghoul if you tried to drink 500 Nuka Colas in two weeks? And mmm, food paste.


Nuka Cola Cap Box Project

Here are the caps. I know there's a Sunset Sarsparilla one in there. Me head canon is that whoever had it las just chucked one in there thinking that no one would notice. But those cap counter people at Nuka Cola are very thorough. They will find out. Also couldn't resist a Nuka Cola Yellow. There is no Nuka Cola Yellow. Just some dude who 'makes water'.


Fallout Bottle Caps


Sunday, 20 December 2015

2015 Sylvanian Baby Ornament Swap 2

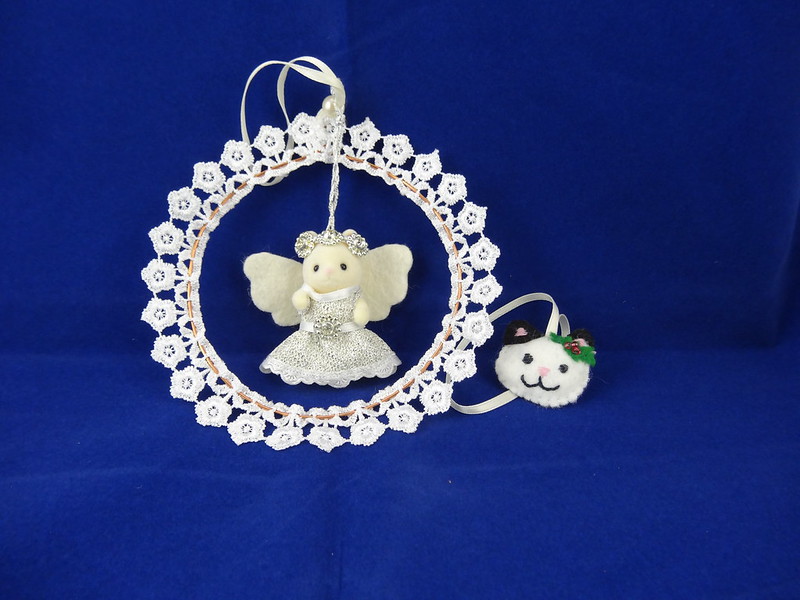
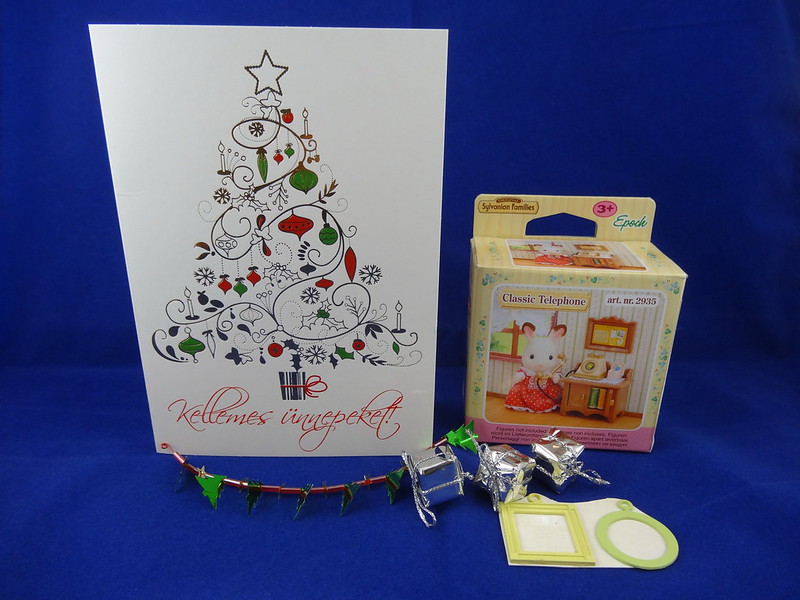
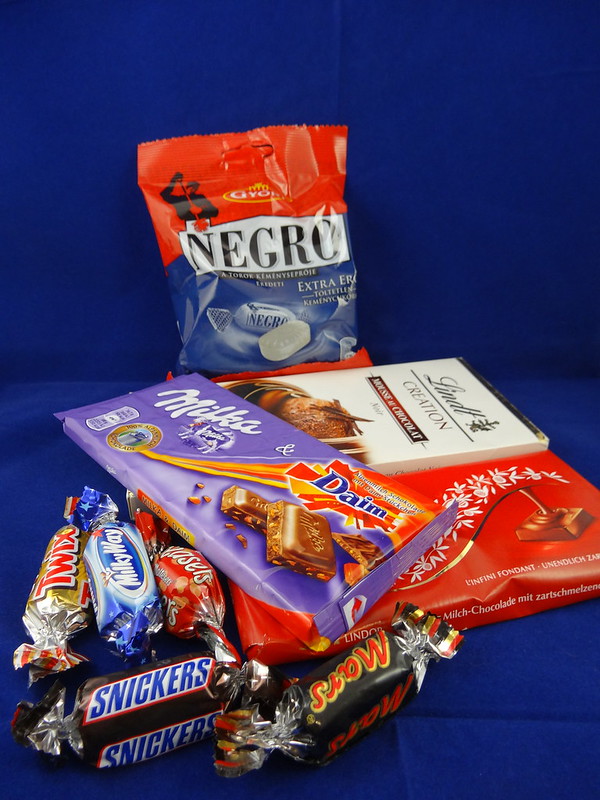
Received my package from CastorFiber. She's amazing. The ornament she made is simply gorgeous, and the little cat face is adorable. Plus she put in all these extras too, including little crafty things and accessories as well as an SF telephone set! And so many yummy chocolates and sweets! This makes me embarrassed about what I put into my Sock Swap package. It's no where near as elaborate as this... :x


SF Swap parcel from CastorFiber

Thursday, 17 December 2015

2015 Baby Sylvanian Swap

Baby Sylvanian Ornament Swaqp 2015

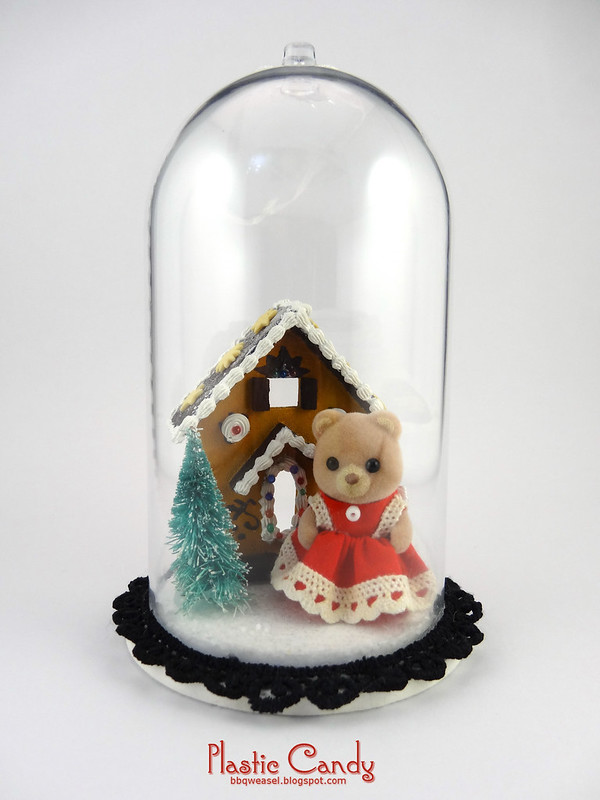
Joined the Sylvanian baby ornament swap. Now that my partner has received it, I can post about it. :D I'm really glad she likes it because many times I looked at what I was doing with that gingerbread house and my eyes felt like they were going to fall out from sheer exasperation. It didn't turn out the way I had intended (I had envisioned something a little more simple and clean looking). I still need to practise my piping, it's rather messy looking. At least I discovered a better way of cleaning my piping nozzle. Wet wipes FTW. Don't know why I never considered something so simple. I never liked using that piping nozzle because of the clean up, but now it's much simpler and I can read manga in front of my computer while I'm doing it.

I've been finding it harder and harder to want to do anything crafty lately. I just feel so blah about everything in general.

I've been practising sewing on a Baby Bratz doll. My sewing is still shocking, but at least I can say I made some clothing with *gasp* the help of a needle. I didn't sew anything for the baby swap. The Sylvanian bear's clothes are held together using my best friend, craft glue. I really should do more sewing. It's probably easier and less messy to stitch something together than to glue down every seam (the dreaded glue strings, ugh). I learned a few new things about bashing cloth together to form clothing together after doing the Bratz dress and the SF dress. I just have to apply that knowledge to actual sewing, hah...

The original ornament was something I got from Kmart. It was a snowy scene with a white house and two pine trees.

Hopefully I'll feel more alive once the holidays kick in mid next week.

I bought my first few Amiibos. Animal Crossing ones. I can't resist Animal Crossing. Nintendo's got my wallet in a death grip. Send help.

Monday, 21 September 2015

Newsagent

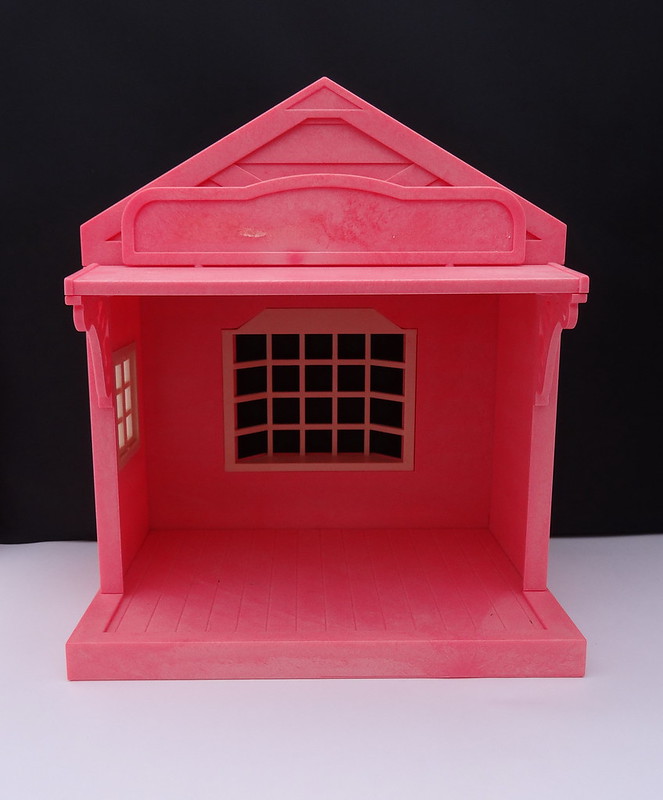
New repainting project! Been busy with work and stuff and haven't updated or done much in the way of crafts lately. This is my last 'cottage shop' style building. I'm turning it into a newsagent's.

Newsagent project

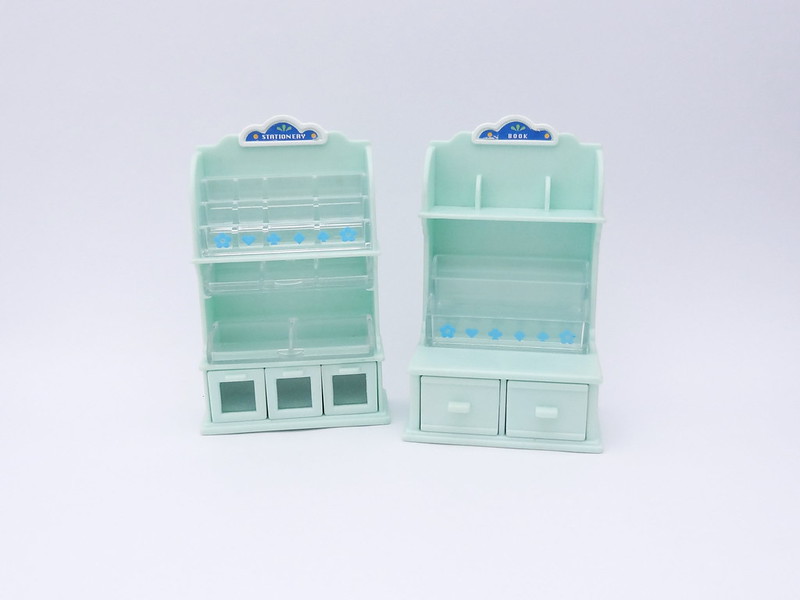
Also scored these shelves off of eBay a couple of years ago. They're from the rare SF bookshop set, but didn't have any of the accessories. I'm thinking about repainting them (cue cringing from several SF fans). Depends on how the building comes out--I want them fit the general style of the building.

Newsagent project

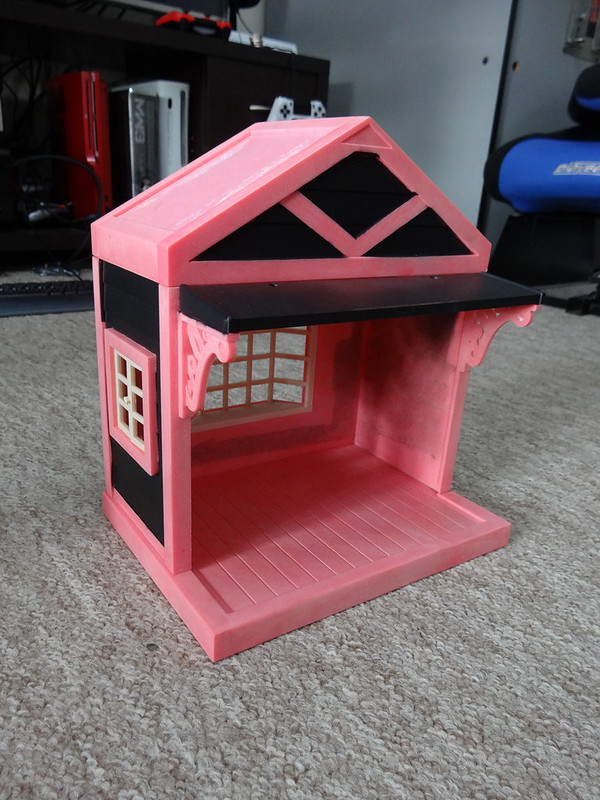
I sprayed the black on yesterday, and I'll try to fix up the little mistakes tomorrow.

Newsagent's

Friday, 7 August 2015

Summer Swap 2015 Custom

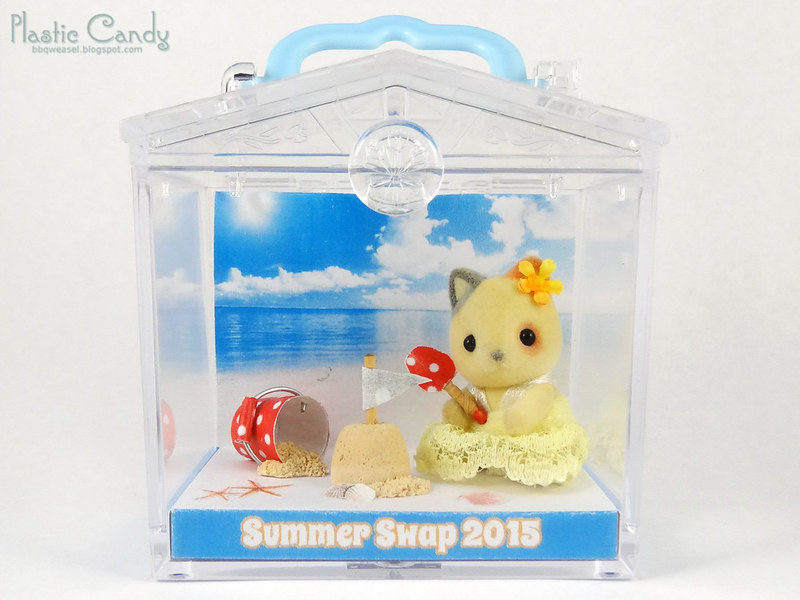
Now that bloem has received my swap goodies I can post the custom baby carry case I sent her. XD

Sylvanian Summer Swap 2015

Clothes glued together, as I still can't sew and believe me, I tried. I tried to make a simple skirt and failed, ugh, so I just glued a bit of lace together. I made the bucket made of paper and wire (used some of Rainy Blues' paper cup templates, cut down to size) , shovel made of paper and a cocktail toothpick end, and sand made of polymer clay.

Monday, 3 August 2015

Sylvanian Summer Swap

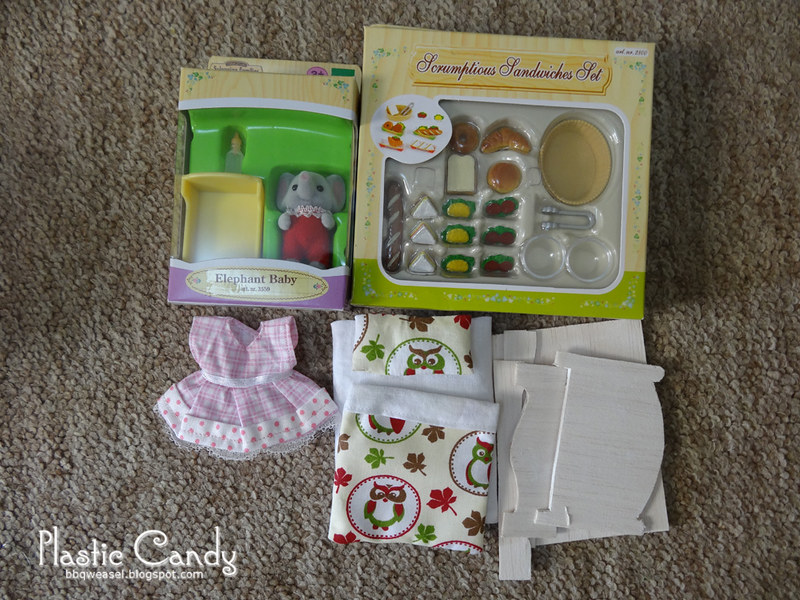
I signed up for a summer swap (it's winter here down under, lol) on the Sylvanian Forums. The packages have started coming in and I received mine from the lovely Kyraja in Germany. I absolutely love the dress and the DIY bed kit! Especially the cute owl fabric. I'll take pics once I've put it together.

 Items from Kyraja:
  Sylvanian Summer Swap


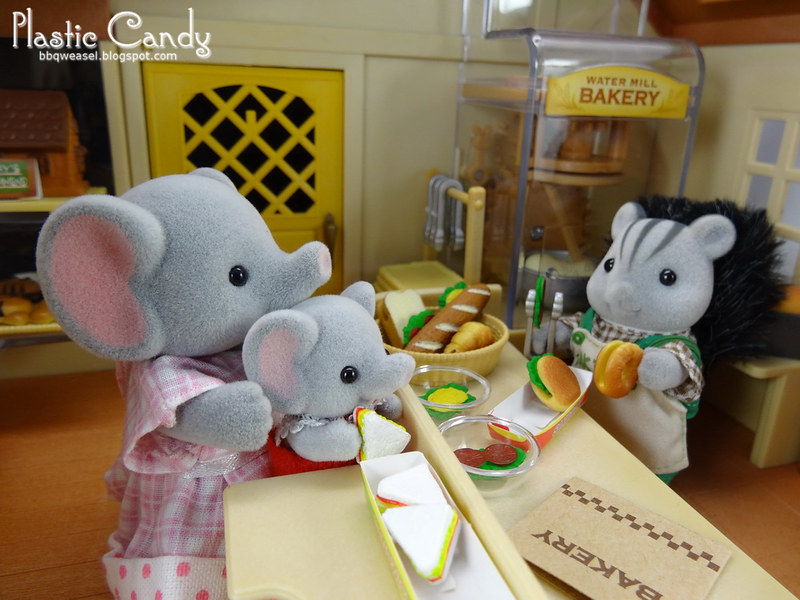
I love that she got me the little Emily Trunk. The standing baby elephants have been been discontinued so I don't see them in the shops anymore. The sandwich set has interesting play features--you can actually stuff salad into the gaps in the bread, and the bread holds it in quite firmly too. A simple and effective play design. I never noticed before. I thought you had to hold all the separate sandwich bits together using your fingers.


 Here's Emily nicking a sandwich from the counter as mum orders a bagel.
  Sandwiches

Saturday, 21 March 2015

Monster High Custom

I have a few Monster High dolls. I love how much thought and detail goes into these dolls, and their unusual choices for creatures to turn into dolls. I really like the more outlandish ones. A six armed spider doll? An actual skeleton doll? An articulated centaur? A golden dragon? Not to mention lovely intricate designs on some of the doll torsos? Sold! Ah, where were you when I was a child? Not that I would have bought them as a kid anyway, I was very much a pink and girly toys girl. I still am to some extent--I love cute things, but I've since learned that I have an extremely morbid side. I love ghoulish and outlandish things, and I have a rather inappropriate sense of humour.

 Anyway, back to the dolls. I like them but I've never been a fan of their face ups. I like a more subtle looking face on my dolls in general. I've been accumulating several of these dolls with the intent of repainting them and finally (after about two years, haaaa...) broke down and bought a can of MSC (so expensive here...) Best dolly decision I ever made.

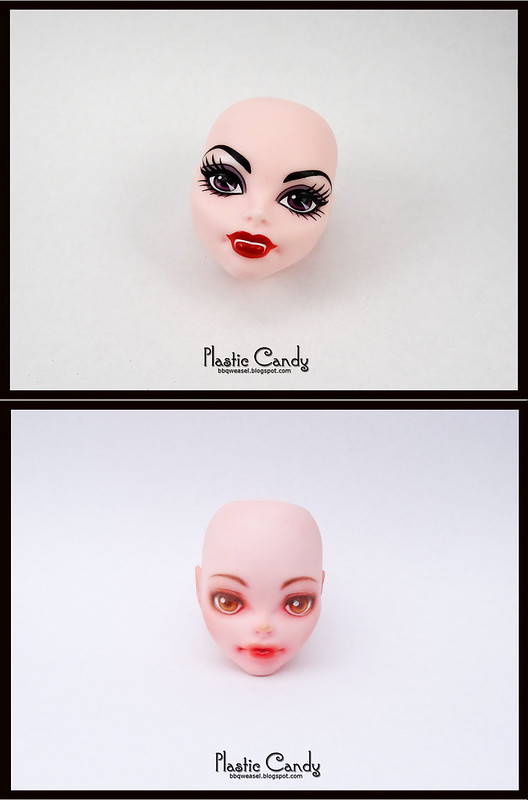
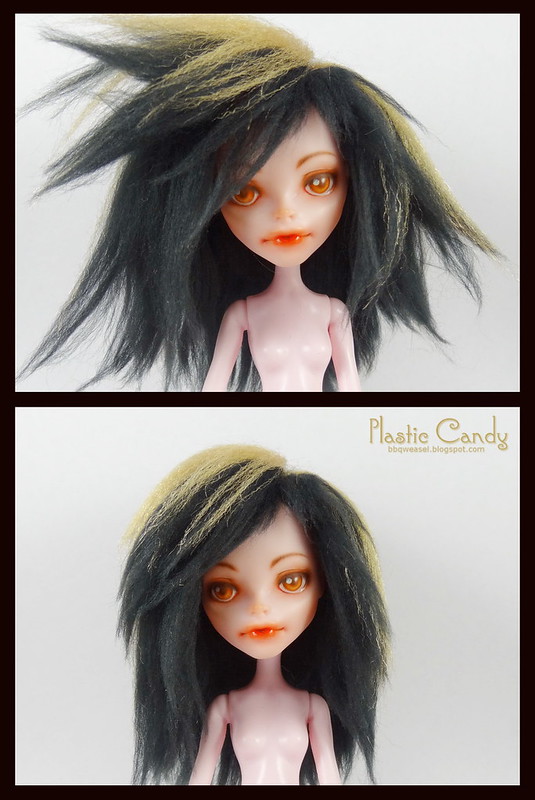
 Here's my first MH custom. This is the fourth doll I've ever customised and my first MH one. The other dolls have been Bratz. I used a Vampire Create-A-Monster doll head as the base because it's the mold I liked the least. I used a mix of coloured pencils, pastels and paint for this custom. I did all my previous customisations using acrylics and pastels, so coloured pencils is another first.

Vampire CAM Repaint

 I made a brushed yarn wig for her because all the Liv wigs I have makes her look like a strung out druggie or something. Don't even get me started on the default CAM wigs. Yuk. The tutorial I'm using is this one:

It took a long, long time. @_@ I don't have a flat iron so I used a clothes iron to smooth out the wefts.

I'm not really happy with the wig. It's too poofy, and I gave it a bad haircut to boot. I have no idea how to cut hair. The spiky anime hair is my attempt to disguise the bad haircut, haha.

Brushed yarn wig
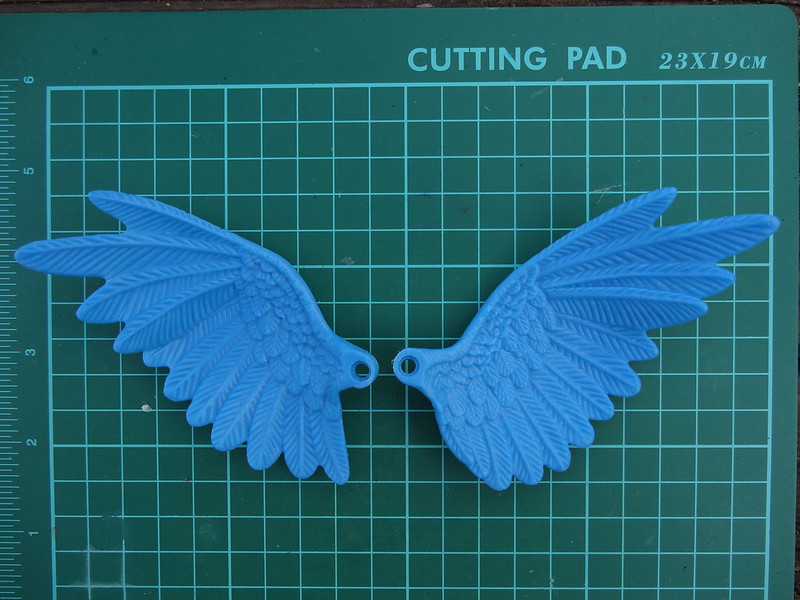
I also stole some wings of a McD's Flora to use in the custom. I had to break her to get the wings. Those toys are glued down tight!


Rio wings

Thursday, 12 February 2015

I finally made something new.

I finally made something new. And took some pictures. I've been feeling very flat and unmotivated for the past few months.

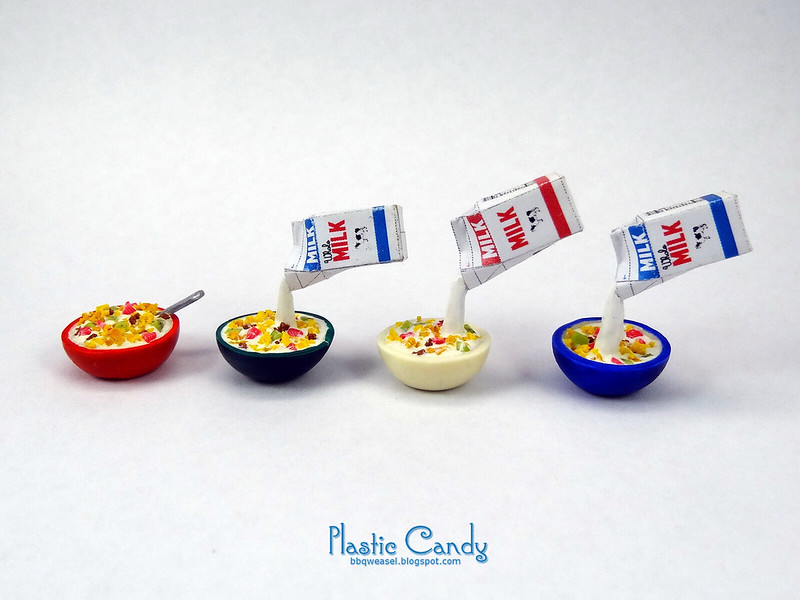
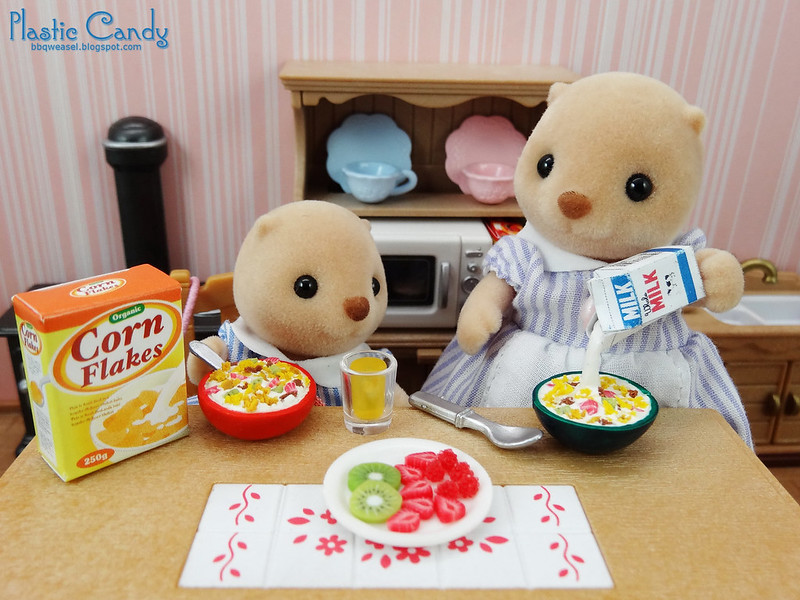
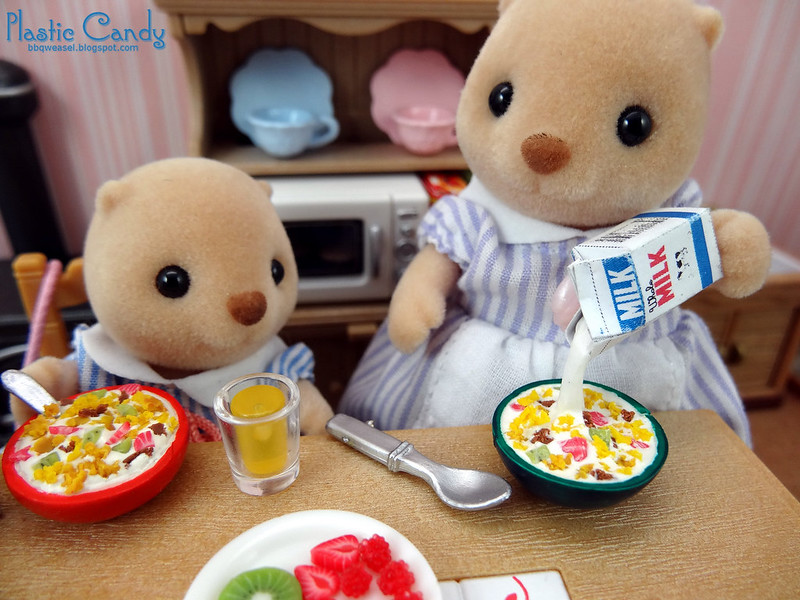
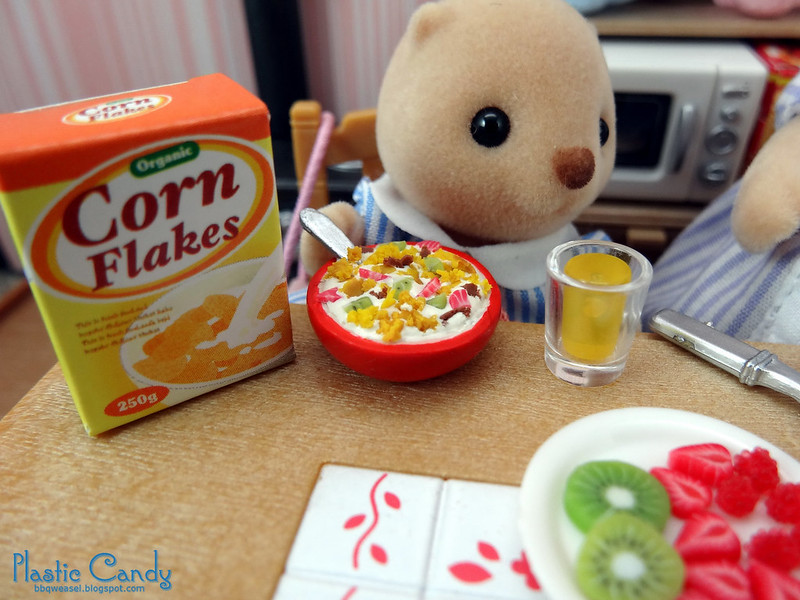
I found a wonderful tutorial by ToniEllison for milk and cereal. It was fun if very time consuming to make. I need to do something about my bowls, they're not very good. And next time I think I'll make a little 'splash' to put at the base of the poured milk.

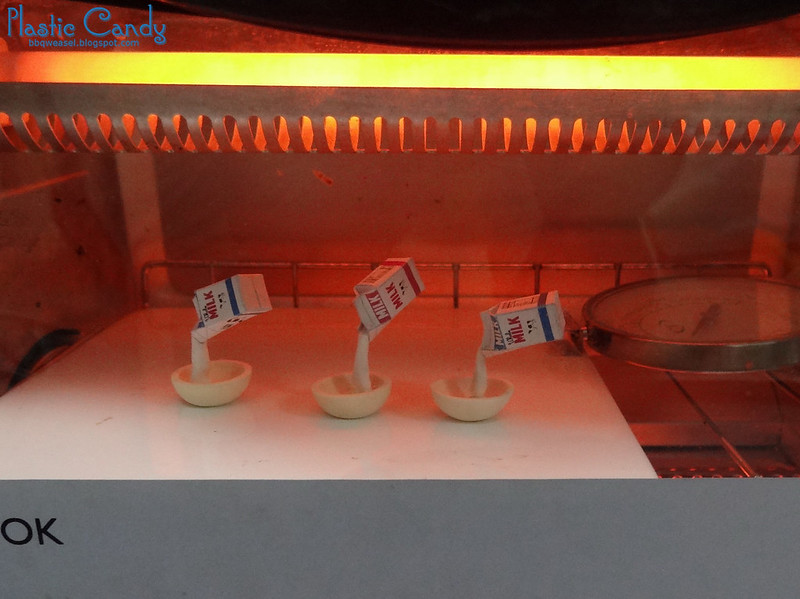
I think they look funny baking in the oven. I got a new toaster oven from the OP shop, but I didn't notice that it doesn't actually have a temperature control dial. Only options for heating from the top, bottom or both at once. Welp, at least it's smaller than my previous hulking beast at least?

Baking Milk

I made three of them, with the red skim milk in the plain bowl being my favourite. It's also the one I made last so it has the least mistakes. I made an extra bowl of cereal with a spoon because I had so many left over cereal flakes.

Milk and cereal

I made the milk stream too high for Sylvanians. Mama Neptune had to stand on a chair to pour this. The stream works well with 1/6 dolls, though.

Breakfast at the Neptune's
Shelly: Mama, where does milk come from?
Narrisa: Ducks, dear. Mr Waddlington delivers the milk.
Shelly: No, I mean WHERE does it come from? The carton has a picture of a cow on it, does this mean that Mrs Buttercup makes it herself--
Narrisa: Never you mind. Eat your cereal.

Yeah, where does Sylvanian milk come from anyway?

Morning Moo Juice
Imperfect bowl

Sunday, 26 October 2014

Pins and Needles Sewing Supplies Shop Update, plus other things

Long overdue update time! I actually completed this shop about a month ago, but didn't manage to take photos I was satisfied with until now.

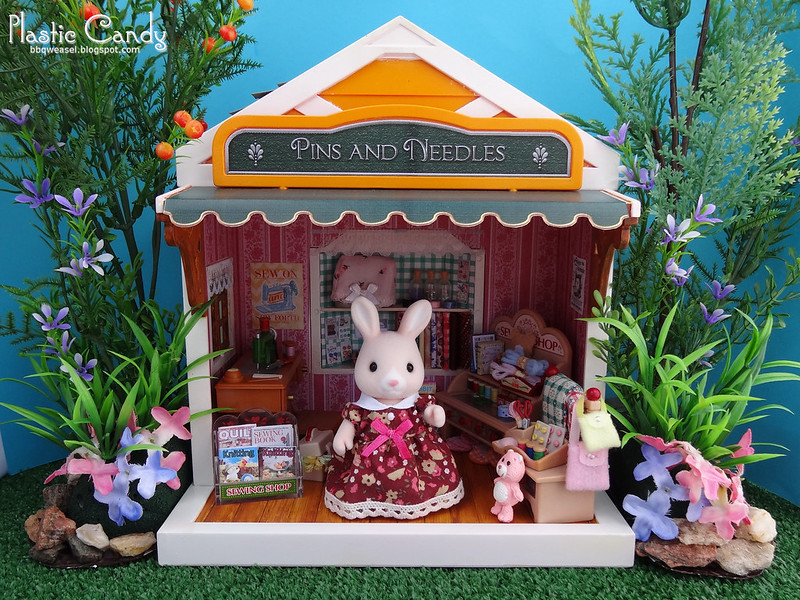
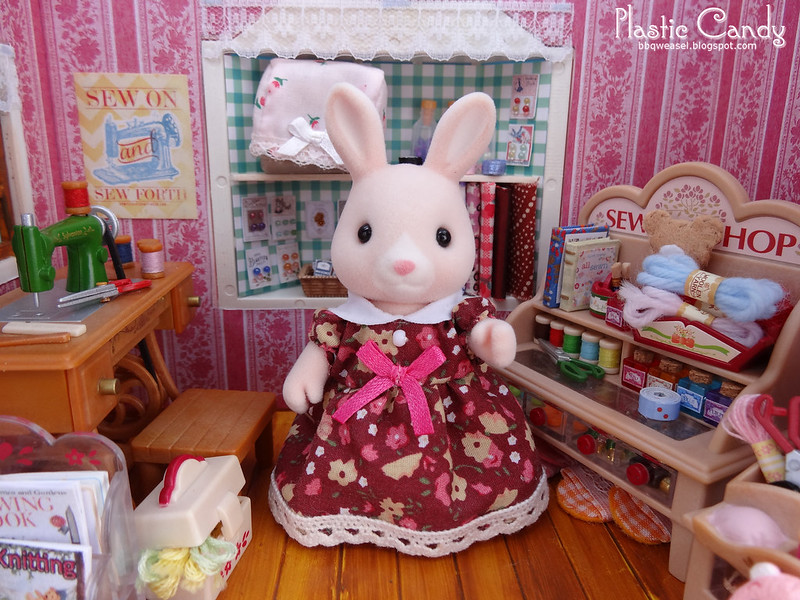
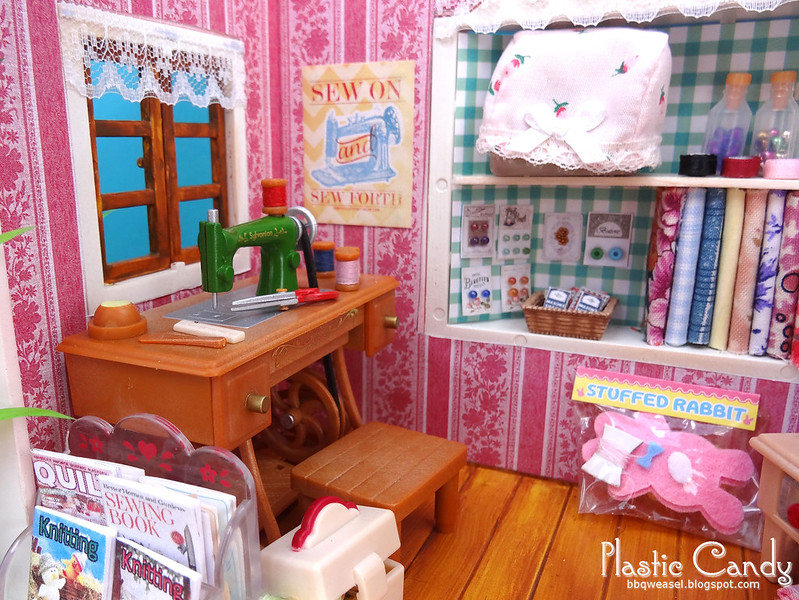
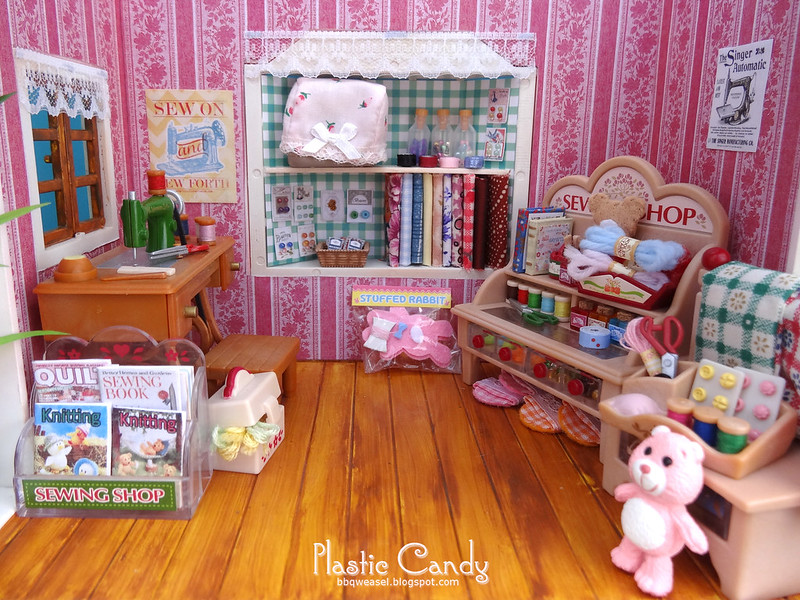
Introducing the Pins and Needles sewing supplies store, your one stop shop for all your sewing needs. This shop contains craft books and magazines, thread, a nice selection of fabrics, paints, buttons, sewing machines etc.

Pins and Needles Sewing Supplies


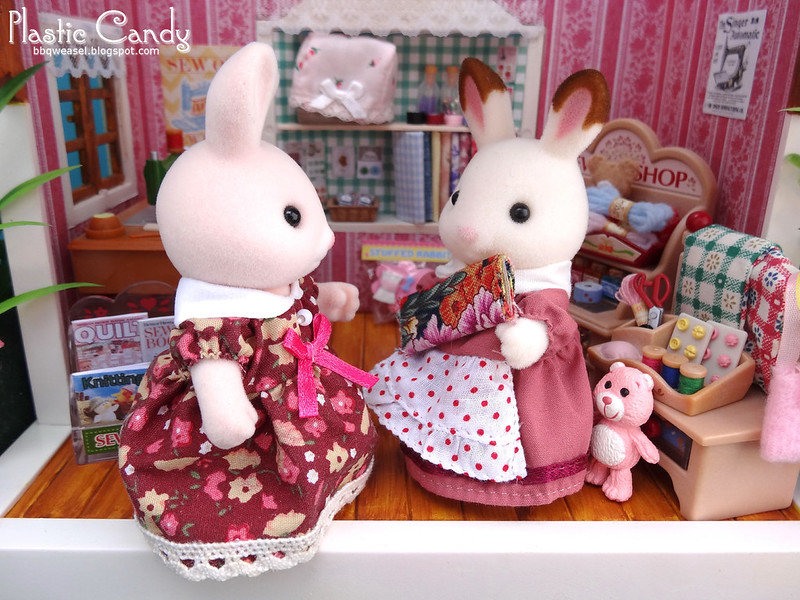
Meet Adrianne Hopkins, the proprietress of Pins and Needles.

Adrianne Hopkins, Owner of Pins and Needles

I had originally considered either a Dandelion rabbit or Silk cat mother as the owner, but I thought that Adrianne and her colour scheme fit in there really well. I love the Hopkins Champagne rabbits. They are a soft pink colour and their flocking is so, so soft! I added a lace trim to her dress. Her original stock photos had a lace trim, but the final release came without (unfortunate, because she looks much fancier with some extra lace). I just glued it on because I suck at sewing.


Interior shot

Sewing shop interior


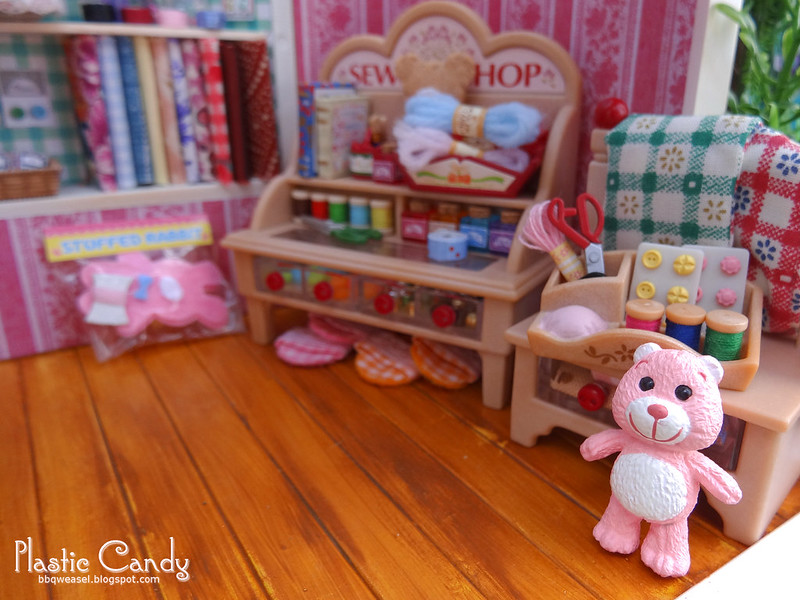
Little Re-Ment Care Bear. I used to have him in Mulberry's Toy Store, but he just fits so well in here, I couldn't resist.

Little Care Bear


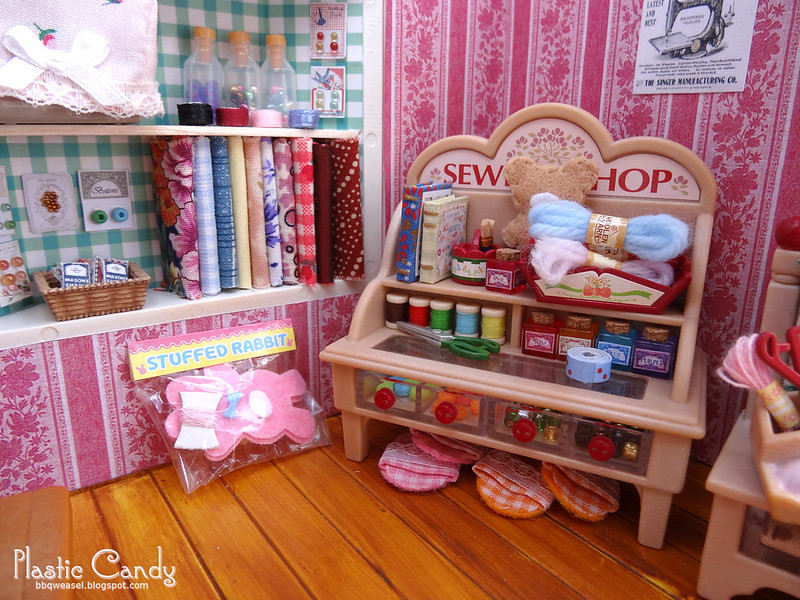
Goodies for sale. I did my best to make up for the missing bits in my sewing set and added extra items like the books and more beads. No way did the original set come with enough beads!

Sewing goodies closeup


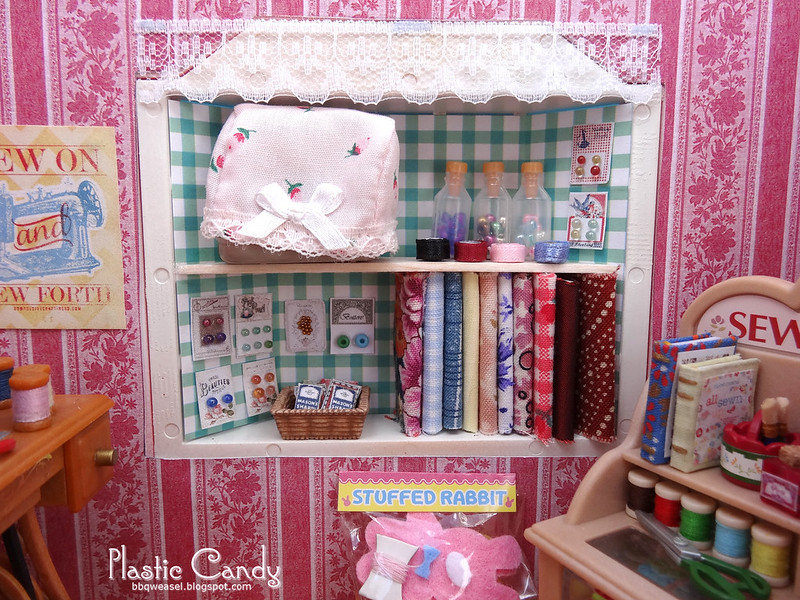
Bay window turned into shelves. I don't think I really have enough fabric for a sewing shop, but it'll have to do. It's already pretty cramped in there.

Stocked shelves


A green, vintage Singer, the pride of Pins and Needles. Not for sale, it's Adrianne's personal machine that she inherited from her mother.

Vintage Singer

I love this piece. I kind of wish I had the black version too, but green's pretty good.


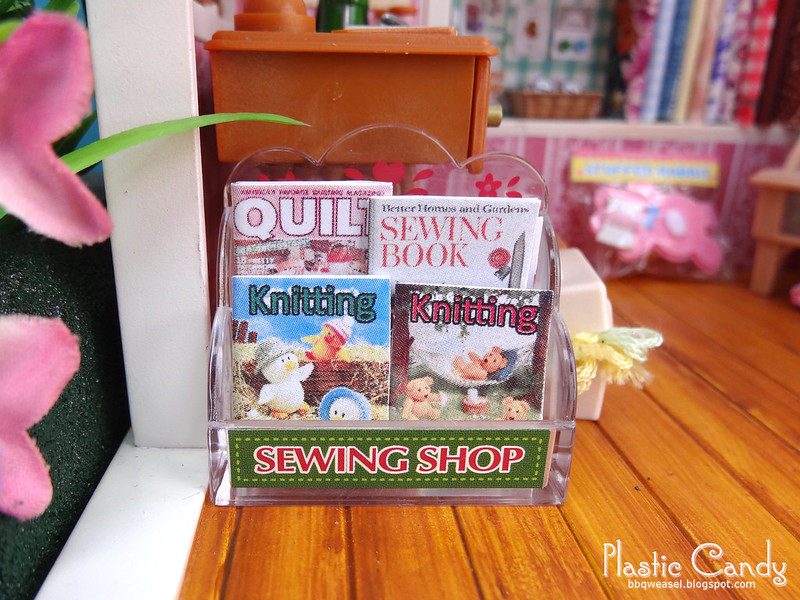
Sewing and knitting magazines.

Craft magazines


Buy the bolt! I almost named Pins and Needles 'By the Bolt'. XD

Buy the Bolt

And that's all for the shop. I might add some dress forms to the outside later, but hadn't really thought about it when I was taking the pictures. I also need to make better back drops and add more plants. The same two pieces of shrubbery is getting old.

---

I've done a review on this old Sylvanian school set on the forums here.

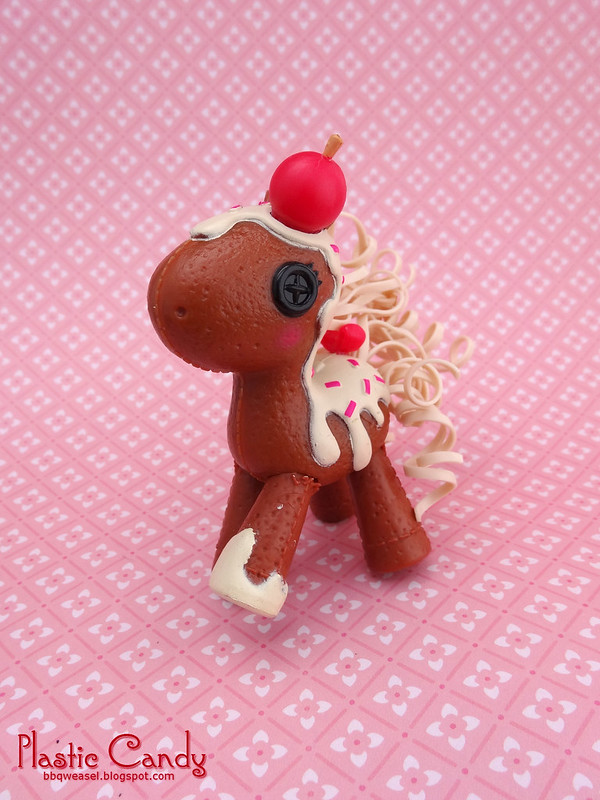
Also, I went to The Reject Shop last weekend and picked up this little guy.

Candy Apple pony

Lalaloopsy candy pony! This one is called Mocha. I really, really wanted to like Waffles, because the concept of a unicorn with a smooshed ice cream cone on its head acting as its horn cracked me up. But Waffles has a really ugly bib molded on him. Just could not get over that silly bib. Mocha is really cute though.