Showing posts with label mod. Show all posts

Sunday, 26 October 2014

Pins and Needles Sewing Supplies Shop Update, plus other things

Long overdue update time! I actually completed this shop about a month ago, but didn't manage to take photos I was satisfied with until now.

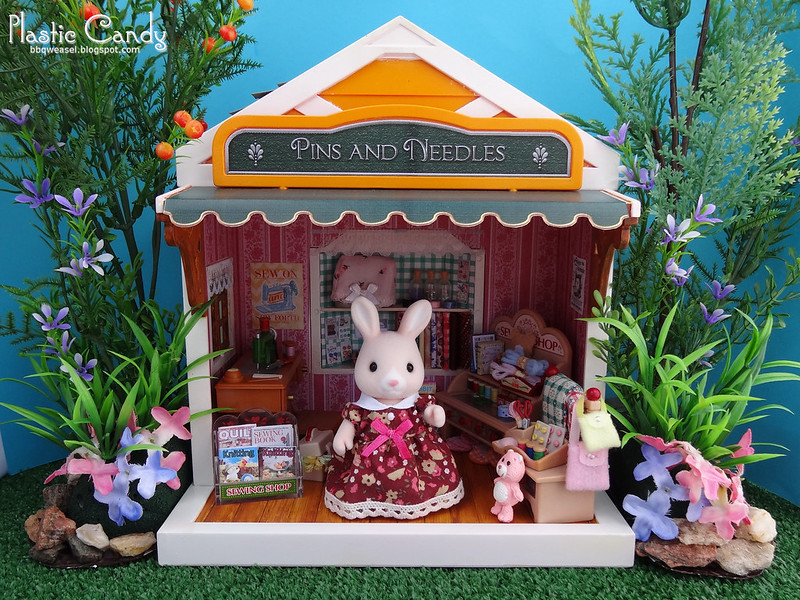
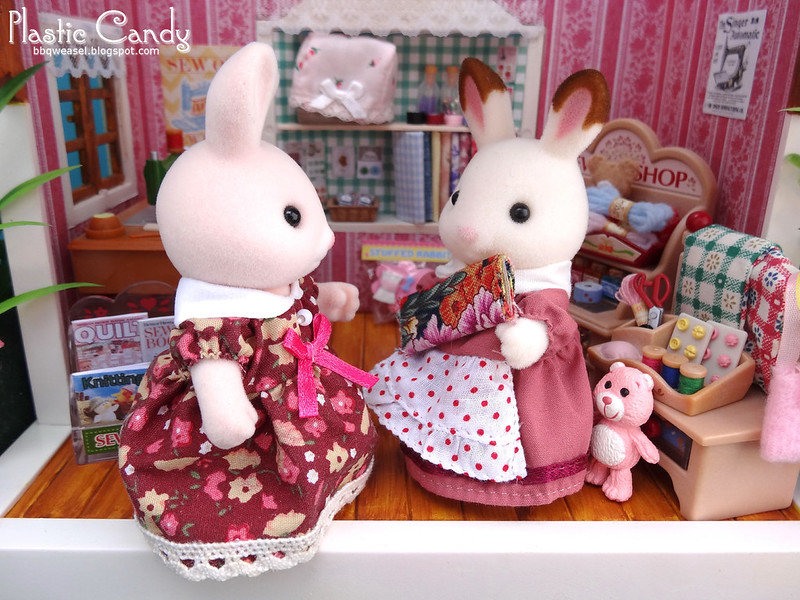
Introducing the Pins and Needles sewing supplies store, your one stop shop for all your sewing needs. This shop contains craft books and magazines, thread, a nice selection of fabrics, paints, buttons, sewing machines etc.

Pins and Needles Sewing Supplies


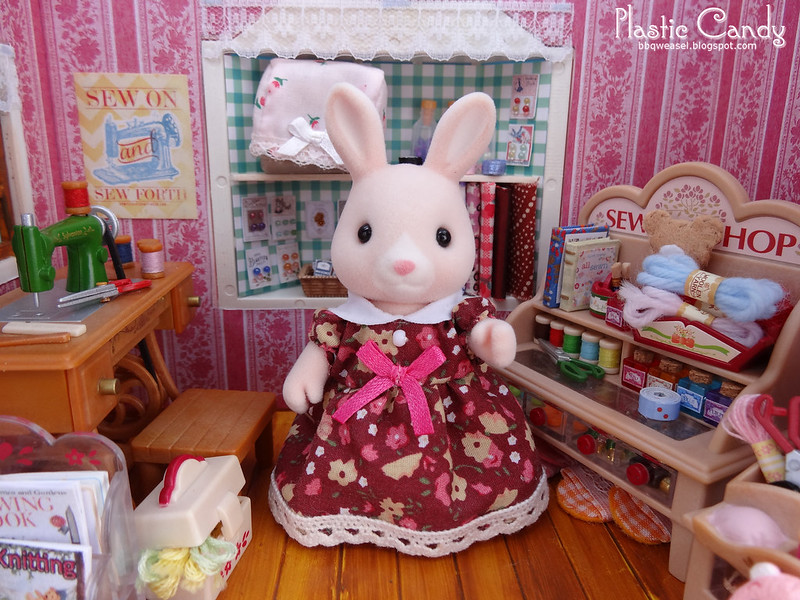
Meet Adrianne Hopkins, the proprietress of Pins and Needles.

Adrianne Hopkins, Owner of Pins and Needles

I had originally considered either a Dandelion rabbit or Silk cat mother as the owner, but I thought that Adrianne and her colour scheme fit in there really well. I love the Hopkins Champagne rabbits. They are a soft pink colour and their flocking is so, so soft! I added a lace trim to her dress. Her original stock photos had a lace trim, but the final release came without (unfortunate, because she looks much fancier with some extra lace). I just glued it on because I suck at sewing.


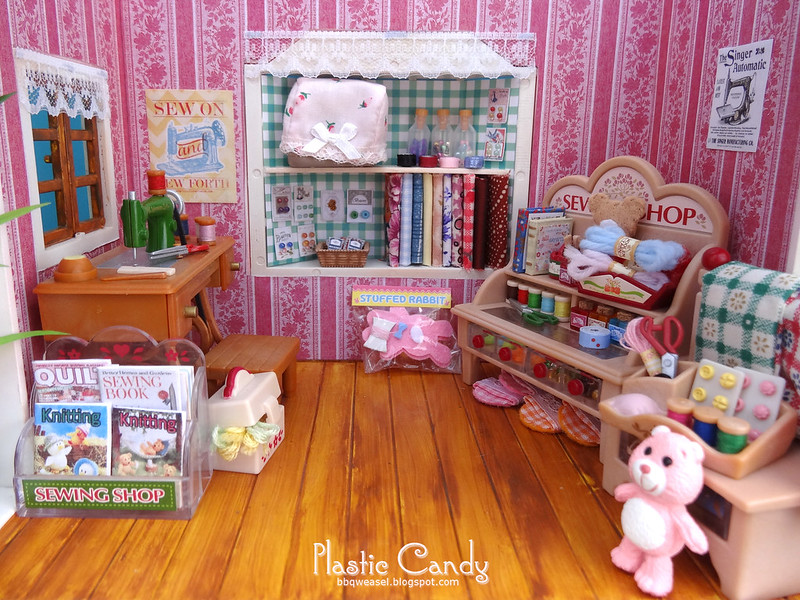
Interior shot

Sewing shop interior


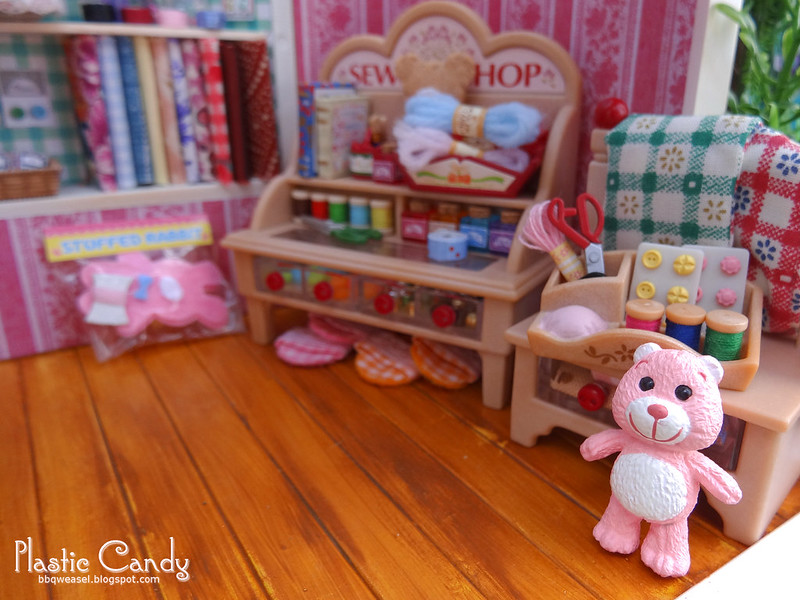
Little Re-Ment Care Bear. I used to have him in Mulberry's Toy Store, but he just fits so well in here, I couldn't resist.

Little Care Bear


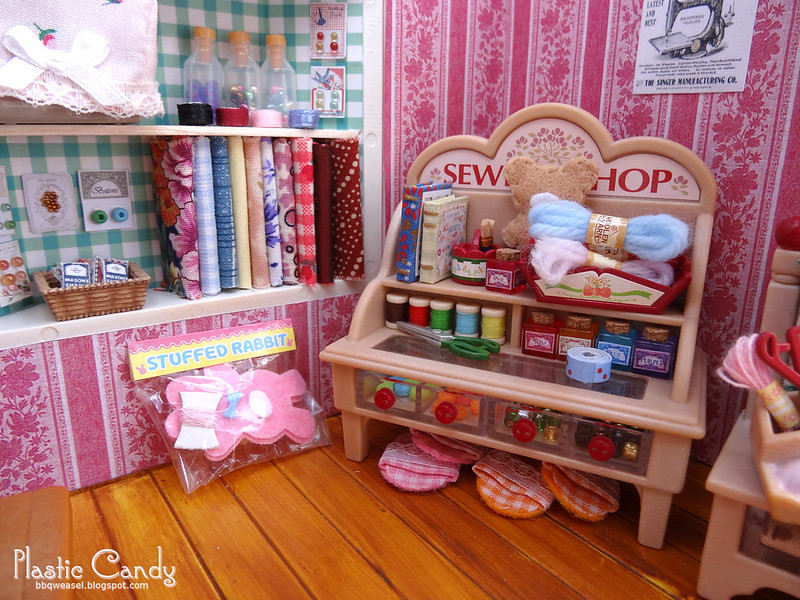
Goodies for sale. I did my best to make up for the missing bits in my sewing set and added extra items like the books and more beads. No way did the original set come with enough beads!

Sewing goodies closeup


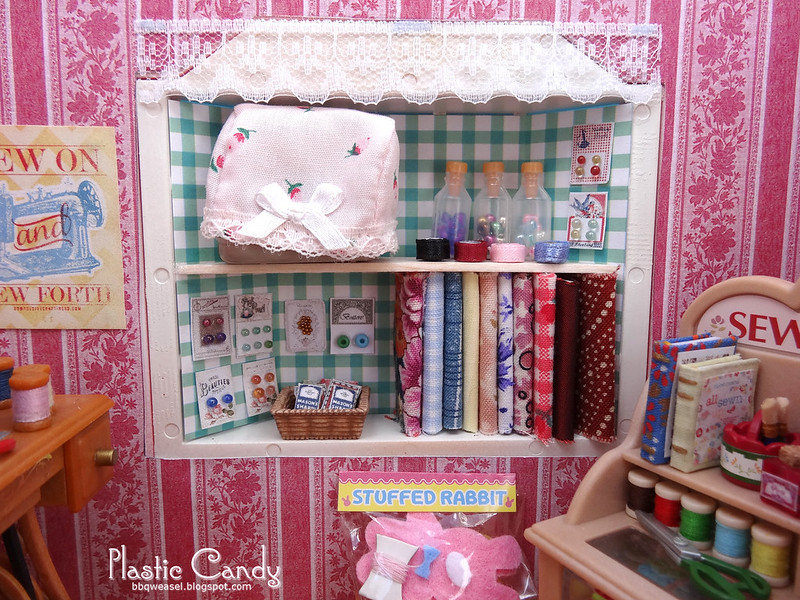
Bay window turned into shelves. I don't think I really have enough fabric for a sewing shop, but it'll have to do. It's already pretty cramped in there.

Stocked shelves


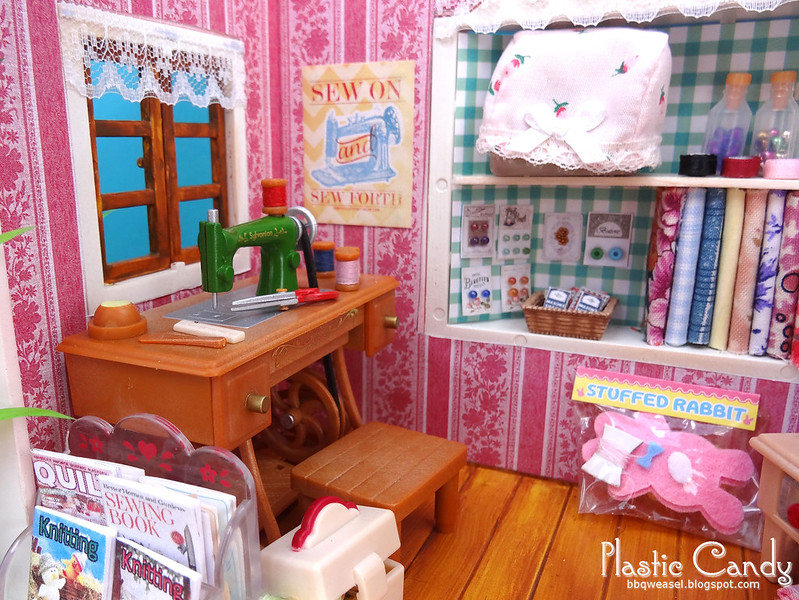
A green, vintage Singer, the pride of Pins and Needles. Not for sale, it's Adrianne's personal machine that she inherited from her mother.

Vintage Singer

I love this piece. I kind of wish I had the black version too, but green's pretty good.


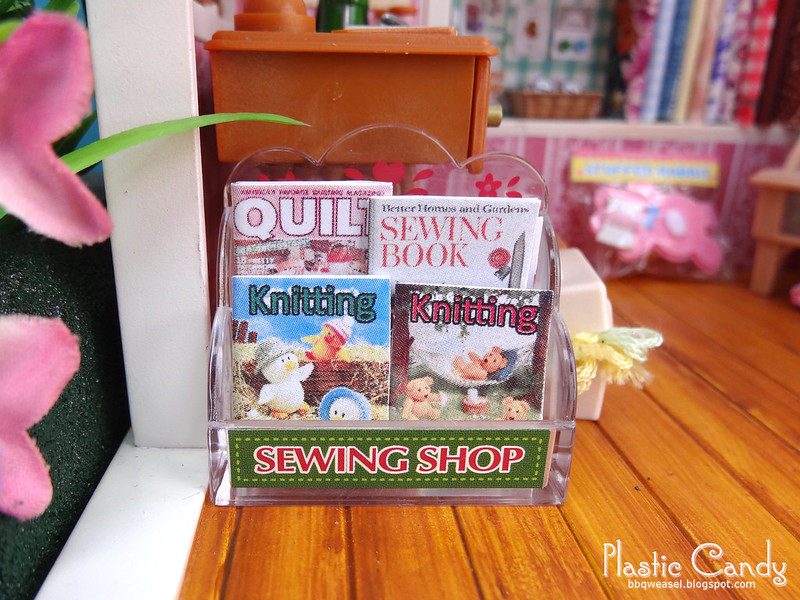
Sewing and knitting magazines.

Craft magazines


Buy the bolt! I almost named Pins and Needles 'By the Bolt'. XD

Buy the Bolt

And that's all for the shop. I might add some dress forms to the outside later, but hadn't really thought about it when I was taking the pictures. I also need to make better back drops and add more plants. The same two pieces of shrubbery is getting old.

---

I've done a review on this old Sylvanian school set on the forums here.

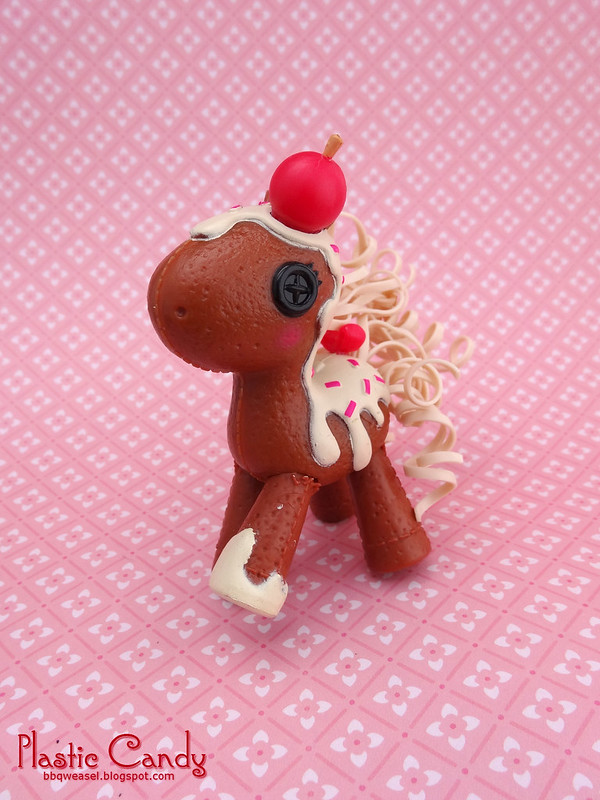
Also, I went to The Reject Shop last weekend and picked up this little guy.

Candy Apple pony

Lalaloopsy candy pony! This one is called Mocha. I really, really wanted to like Waffles, because the concept of a unicorn with a smooshed ice cream cone on its head acting as its horn cracked me up. But Waffles has a really ugly bib molded on him. Just could not get over that silly bib. Mocha is really cute though.

Thursday, 19 April 2012

Flocking Sylvanians

After flocking that chair cushion, I found a little bootlegged sheep and thought it would be a great figure to experiment flocking on. I bought some flocking powder from BNA Model World ( I just chose the cheapest ones, the ones from The Parts Box) and used this tutorial. Flocking a figurine is a lot more time consuming and messy than flocking a flat cushion. Very messy. Anyway, I decided to create a little black sheep baby.
The bootlegged figurine. It's been lying forgotten in an unused handbag for about a year.

Bootleg Sylvanian sheep

I removed the eyes and all the flocking with something called Orange Power. It's a glue remover, and it was very helpful. I'd been trying to scrape off the flocking with my fingernails and warm water before that, and Orange Power makes the glue just slide off.

Flocking and eyes removed

I painted the sheep grey. In retrospect, I should have painted it black, but I didn't want the grey spot to end up looking too dark. Now I think black would have given a better effect.

Painted grey

And several days of glue applying, drying and getting dust everywhere, and probably breathing inb more flocking than is good for me (seriously, wear a mask folks) she's done! I think I will call her Emily. It's kind of close to Emma, and I want them to be cousins or something, heh.

Little Black Sheep

I want to make a dress for her in the future, but this one will do for now. There are a few shiny spots on her leg and arm where I applied too much glue, but luckily with the dress on it's hard to see. I also should have painted on her nose instead of painting the flocking, I think it would have looked better. Also I'm just guessing at where the nose should be now as the flocking obscured so much of the fine detail.

Here's a picture comparing her to an original Sylvanian sheep baby.

Black sheep and original Sylvanian sheep

The original has a fatter, cuter head mold IMHO. The bootleg has a head that looks weird and skinny. I'm tempted to get a standing baby to flock so I can have a black sheep baby with a fat head. Not anytime soon though, I'm pretty sick of flocking for now.

Wednesday, 11 April 2012

Back again! With updates on all my projects

Back from the long hiatus! Now that it's school holidays here in SA, I have more time and energy for crafts and blogging. :) I still haven't been getting many teaching jobs, but things picked up a little at the end of term. All I can do now is continue volunteering at different schools everyday to keep myself visible and be ready to jump on any opportunities I see. I hope next term will be better. I really want to land a contract to teach for more than one day at a time. I'm also thinking of taking up a casual cleaning job on the weekend to bring in more money.

Anyway, on to the projects! I've been planning to open up an Etsy shop selling little critters like these guys:

zombie phone charms

They are about 4 cm tall and were originally meant to be phone charms, but after asking at the Regretsy forums, turning them into necklaces seem to be the more popular choice. I'm working on five more now since the three in the picture are all spoken for and I'm still waiting for my necklace making supplies to arrive.

WIP zombies

I've reworked the brain design, the brain the little pink bear is holding didn't turn out quite the way I had imagined it. I was trying to go for a cute stylised brain, but oh, well... I'm still experimenting with ways to make the claws more durable, but I don't think the whole 'coat little wires with liquid clay' thing is going to work out. It breaks off and wire claws are pointy. I'm probably not going to end up listing the puppy for sale because he's the one I used to experiment metal claws on. All the others will have straight up polymer clay claws. I'm also making these ones to be able to stand up on their own, unlike the first three--I had to use blu tak for them.

I've also been experimenting with flocking powder. I was sold some vintage Sylvanian chairs and told that they were in 'excellent' condition. They were NOT. Flocking was rubbing off in places and it looked old to boot, so I decided to buy some red flocking and try reflocking the chairs myself.


Flocking experiment

The top cushion is the one I reflocked, and the bottom cushion is still in the condition it came in. I'm pretty pleased with the results and I'll take a photo once I've finished reflocking everything. (Again, one of those things I keep meaning to do but I keep getting sidetracked) I'm also going to try reflocking a little fake sheep figurine I have; just waiting for the supplies to arrive.

An update on the Willow Hall I was painting:


WIP bootleg Willow Hall

Yeah, nothing but some of the floor done. I've hit a stone wall with this project. Put together, the white highlighted areas are too plain and I haven't been able to figure out what other colours would go well with the darkish green and the white. I've tried reddish brown and dark green, but it doesn't look very good to me on this building. The green colour of the main body is supposed to be lighter, but the paint darkened after drying. I had some highlights planned for a lighter green body colour but they don't really work with the current colour. I think I will try some light green highlights and maybe a few darker green ones.

My main project right now is repainting this baby right here:

Sylvanian Grand Mansion

I found this awesome vintage Sylvanian Families Grand Mansion at a dollshouse store near Adelaide. I was floored at finding this building there; I see them pop up all the time on Ebay UK, but never in Australia. It's a building I never thought I'd ever own because of what it would cost to ship from overseas. I was so excited I'm sure I overpaid for this thing, especially in this condition.

As you can see, the white parts are significantly yellowed and there are a lot of parts missing. Most of the major parts are there, it's mostly the small fiddly bits that are gone like the lamps, foot scraper, flower boxes, clothesline, part of the conservatory railing, the canopy, etc. The only missing parts I really want are the front door lamps, the missing railing and the little sticking out bit on the conservatory where you can hang a flower pot from. Mostly the lamps. I saw some of these parts on Ebay a couple of months back but I was too stingy to fork out for the more expensive shipping method the seller was using. I kinda regret that now because I haven't seen any of these parts turn up lately!

Another awesome thing about this building is that all the floors are just stacked one on top of the other, and are removable. Makes it easier to paint and to take photos in.

I started out by repainting the roof.

Grand Mansion roof repainted

In this picture the windows haven't been painted yet. They look so yellow next to all the newly painted white parts! I like the details on the front of this building, looks so cool.

With windows done:

Grand Mansion roof repainted 2

I keep forgetting to paint the chimney. I also need to build a new trapdoor for the roof, both the trapdoor and the ladder leading up to it are missing. Ladders I don't mind so much, but one cannot have a large gaping hole in the roof!

WIP spraying photo!

WIP grand mansion

I used a stone effect texture spray for the main body and a gray primer as the undercoat. I think I should have used a white because the colours came out a lot darker than I wanted. Oh well, too late now.

And I've been careless because this happened:

Masking errors

The masking tape and the areas I tapped off are pretty similar in colour so I missed a few spots... :p

 Here's how it looks like with all the masking tape taken off:


WIP grand mansion with body

The red door is very striking, but it's not going to be permanent because I don't like it. I'm thinking of painting it black with some golden highlights instead.

Texture paint is very messy and sometimes it clumps up and makes big blobs. That's probably the result of my crappy spraying skills though. It also tends to obscure some of the finer details. It also goes everywhere when you remove the masking. I might just try using normal sprays or acrylics next time I need a stone effect.

That's it for now, I'm hoping to finish the Grand Mansion before the holidays are over!

Wednesday, 5 January 2011

Various small mods

Woo! First post of 2011! XD (I actually wrote 2010 and had to go back and edit it =A=)


This post is almost a duplicate of a small mods thread I just posted on the Sylvanian Families message board. It just contains more blah blahing here. I thought I'd show my Sylvanian mods on my blog too!

I got a PC Bobby Roberts bike with a secondhand post office building I bought and decided to repaint it and turn it into a postman's bike. I'm quite happy with the way the colour scheme's worked out, but it's still a bit sticky now. I originally tried to paint the spokes on the tyres with silver acrylics, but it looked so uneven and clumpy in the end that I took off all the paint and some of the black tyre paint as well. That was unexpected, as I thought that black was the default colour of the plastic. Turns out the plastic is the same default colour as the original body of the bike--blue. I spray painted the tyres chrome and then painted on the black by hand with some enamel Tamiya paint that William gave me. The fumes...

Before:
Photobucket

After:
Photobucket

I also spray painted the cans that came with my Sylvanian Village bakery chrome as I didn't like the default dull grey colour. The scratches on the top are from me trying to sand the seam lines down. Didn't work very well... I think I'd been using sandpaper that was too coarse on it. Well, lesson learnt!

Before:
Photobucket

After:
Photobucket

I also painted the tops of these bottles from the reissued green vanity. Originally they were one solid colour. Solid colours tend to make things look more plasticky and cheap IMHO.
Photobucket

Tuesday, 14 July 2009

Modding Pinkies

Mod

I've stripped the paint off and primed Evangelion Asuka's summer outfit. I've also stripped the paint off Yoshiko's head and tried to carve her mouth open. I don't like Yoshiko's face mold, so now she's mod fodder. I need sandpaper.